What should a PCAP kiosk acceptance test cover?
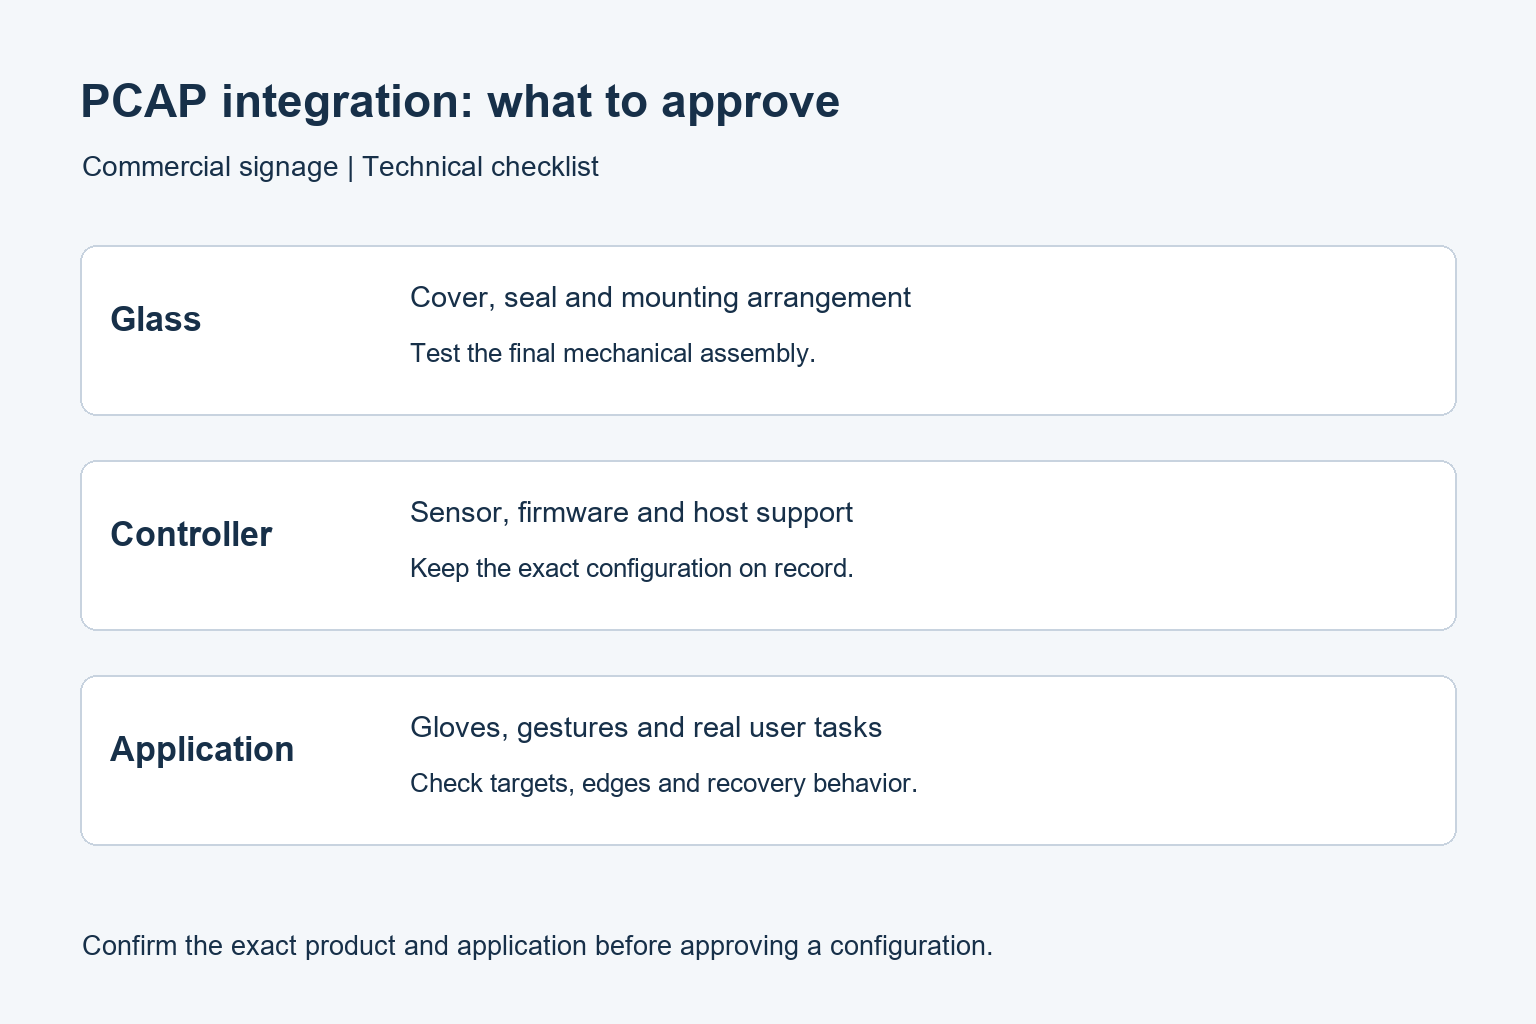
Test projected capacitive touch as part of the complete kiosk: glass, sensor, controller, host and application all affect the result.
- Define the actual taps, scrolling, text entry and gestures users need.
- Use the final glass, films and approved surface treatment.
- Test the specified gloves or input method, including small controls near edges.
- Confirm the touch-data connection, coordinate mapping and behaviour after restart.
This guide is for teams integrating PCAP into ordering terminals, information kiosks and interactive signage. It focuses on the checks between choosing a touch technology and approving a production unit. Start with the actual user task, then test the proposed hardware and software together.
What the touch sensor does
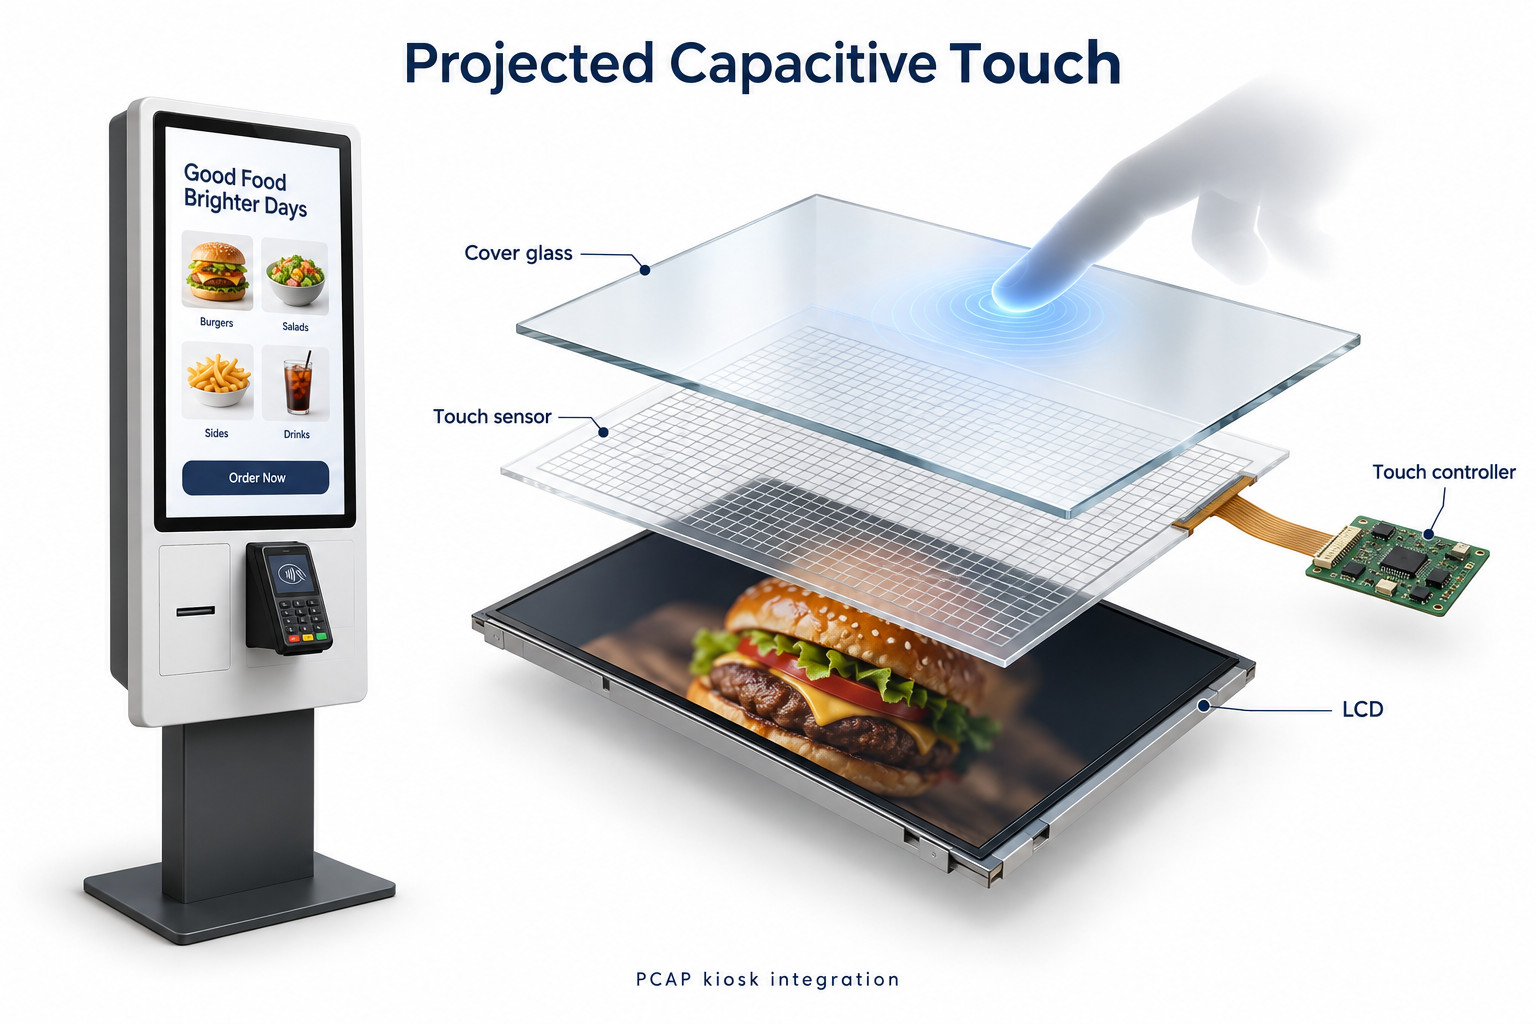
A conductive electrode pattern sits within the touch assembly. A finger changes the electrical conditions, and the controller calculates a position. The host receives touch information and passes it to the application. The LCD produces the image through a separate display function; a good picture alone does not confirm working touch input.
The sensor, controller and firmware form a system. Keep their identities in the sample record. A controller change can matter even when the glass size and outside appearance stay the same. Ask which configuration will be supplied for repeat orders and how component changes are communicated.
Define the interaction before specifying the hardware
Write down what the customer must do: select a language, choose an item, scroll a list, enter a short code or move a map. A kiosk used mainly for single taps has a different interaction brief from a shared interactive display. Do not make the advertised number of touch points the entire specification.
Identify the users and conditions. Record whether they use bare fingers or particular gloves, whether the front surface may be damp, and whether the installation is indoors or exposed to changing weather. Separate normal operation from cleaning and service. Each condition needs an agreed test rather than a broad promise.
Keep the application in the evaluation. A responsive sensor cannot fix tiny buttons, overlapping targets or a page that freezes while loading. Ask the software team to provide a realistic test flow, including cancellation, back navigation and recovery after an interrupted transaction.
Review the glass and mechanical assembly
Cover glass and added layers
Confirm the approved glass construction and any film, printed border or protective layer. Do not add a sheet over an accepted sample and assume the behavior will stay identical. Include the final surface treatment and assembly in the touch evaluation, especially around small controls and screen edges.
Thickness changes the distance between the finger and sensing electrodes. Microchip discusses this effect in its capacitive sensing design guidance. That principle does not provide a universal maximum glass thickness for a commercial kiosk; obtain the supported assembly from the touch system supplier.
Read Microchip’s explanation of touch cover effects.
Mounting and the finished enclosure
Evaluate the unit after assembly, with its intended frame, cable routing and power supply. Record whether a problem appears only when a cover is fitted or a peripheral is connected. Do not let an improvised adjustment become an undocumented production change; have the integration team review it.
For outdoor use, enclosure protection and touch behavior are separate requirements. A protection rating does not establish how the interface behaves with moisture on its face. Specify environmental suitability and the intended touch conditions separately, then obtain evidence for the offered configuration.
Test the actual gloves and application
There is no useful blanket claim that every PCAP screen works with every glove. Bring the glove type used at the site and keep a sample or precise product reference. Test short taps, scrolling and edge controls. Repeat with different users instead of relying on one successful touch in a showroom.
Use representative screens from the finished application. Check the first tap after an idle period, repeated selections, held touches where needed, and the back button near the edge. Observe missed inputs and unwanted extra inputs separately. Record the exact step at which either occurs.
If operation around moisture is required, agree on a supplier-approved test method and recovery procedure. Do not improvise a liquid exposure test on equipment that is not specified for it. The acceptance brief should state the required behavior, including what the screen should do while being cleaned.
Check the host connection and coordinate mapping
For an external touch display, verify both the video path and the touch data path. These may use separate connections. Check the exact controller interface and operating system support rather than assuming the presence of an HDMI connector provides touch communication.
On an integrated kiosk, confirm the supplied operating system image, controller firmware and application version. Keep approved installation files with the project record. Install only the documented driver or configuration package; a different manufacturer’s utility is not a general repair tool.
Test touch after setting the final portrait or landscape orientation. In a multi-display system, verify that touching a screen operates that screen. Check the center and corners with the final resolution and scaling. Follow the controller’s instructions for mapping or alignment when needed.
Use a repeatable acceptance record
Give the evaluator a short checklist with a result field for each action. Include the hardware identity, operating system, application build, surface condition and input method. Record a failure even when the next attempt succeeds; intermittent behavior matters on a kiosk used without staff assistance.
- Run the complete customer journey using the final screen layout.
- Check small controls at the center, corners and edges.
- Repeat the required gestures with the specified input method.
- Restart the approved system and verify orientation and touch mapping.
- Test the intended idle and wake sequence.
- Save observations, settings and the supplier’s agreed response to unresolved issues.
Approve the assembled unit against these results. Keep an accepted reference configuration for later batches. If the application changes its button sizes or gestures, review the interaction again; approval of the original flow does not automatically cover a redesigned interface.
Where this fits in a kiosk purchase
The technology label is the starting point. For procurement, request the supported glass assembly, controller interface, operating system compatibility and demonstrated interaction conditions. Keep optional features separate from the confirmed base configuration so a sample is not mistaken for a guarantee across the entire range.
Compare capacitive and resistive touch if you are still choosing the sensing technology.
Explore YJCEN interactive kiosks for information and navigation applications.
Review self-ordering kiosks for customer-operated ordering workflows.