What is the difference between capacitive and resistive touch?
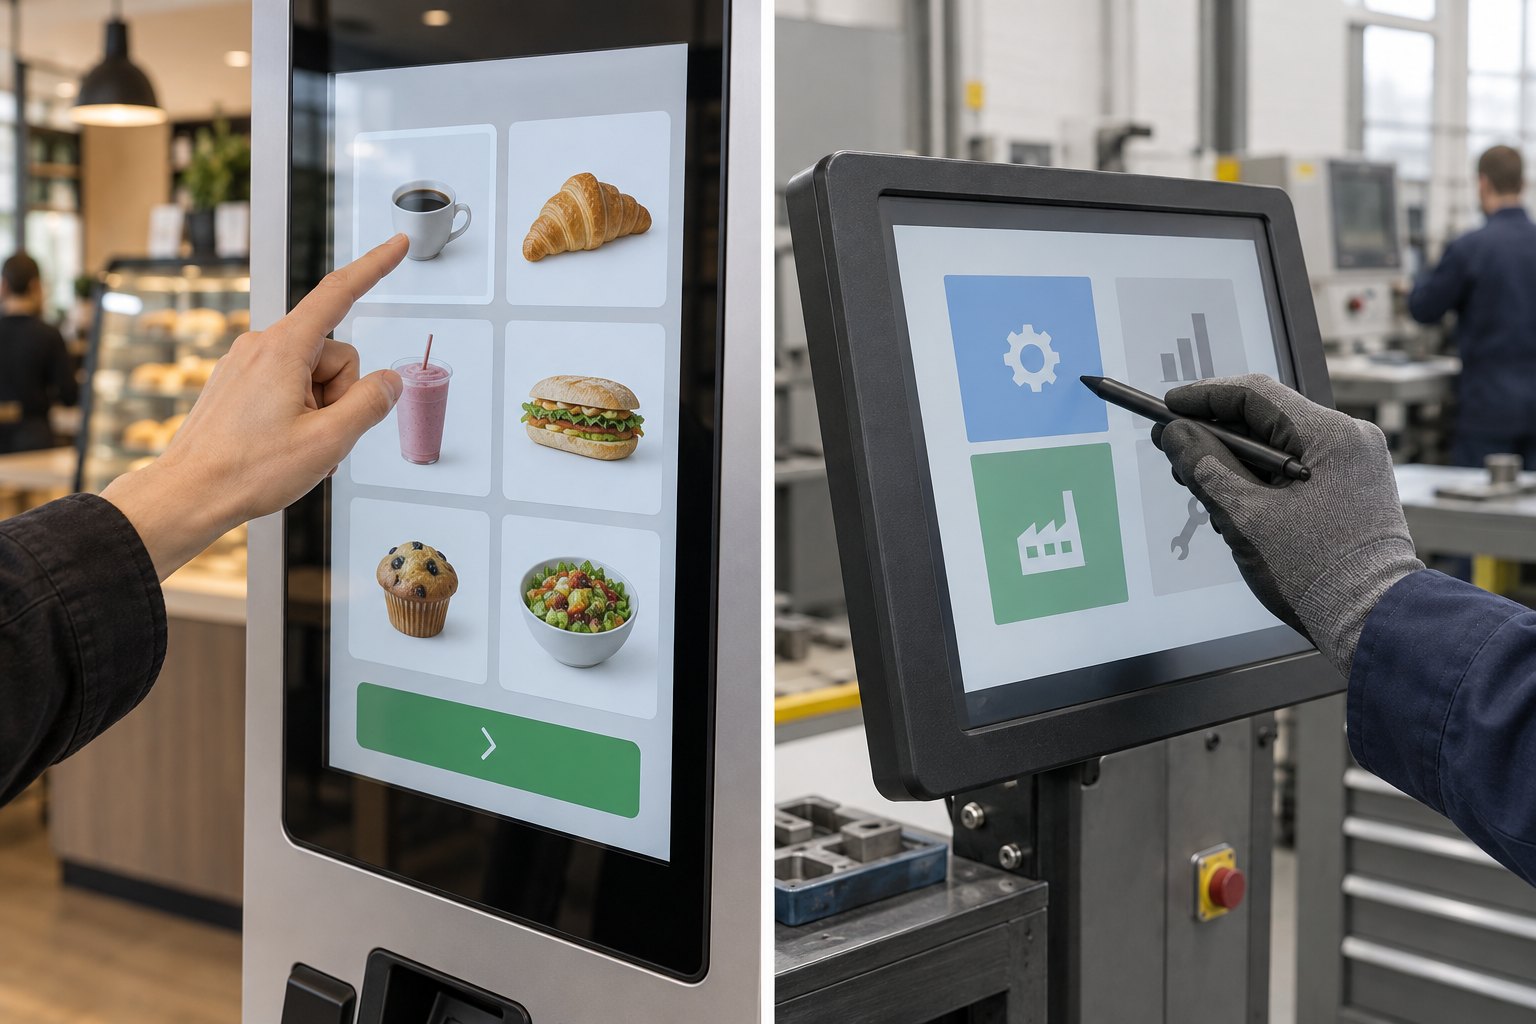
Projected capacitive touch detects changes in capacitance. Conventional resistive touch detects pressure bringing conductive layers together. The suitable choice depends on the user's input and the complete assembly.
- Test the actual fingers, gloves or stylus expected in use.
- Confirm supported gestures, controller settings and host compatibility.
- Review cleaning, wear and environmental conditions for the selected model.
- Do not assume every capacitive screen supports the same multi-touch, wet-use or glove performance.
For a self-service kiosk, choose around the actual interaction: selecting a menu, entering information, using a map or operating a control panel. The better option depends on the complete touchscreen assembly and the way people will use it.
Capacitive vs resistive touch screen: a quick comparison
| Question | Projected capacitive (PCAP) | Conventional resistive |
|---|---|---|
| How is a touch detected? | A conductive input changes capacitance at the sensor | Pressure brings conductive layers together |
| How does it feel? | Usually responds to a light finger touch | Requires enough pressure to register contact |
| Are gestures available? | Multi-touch is common; confirm the controller and application | Single-touch is common; check the specific technology |
| Can staff wear gloves? | Depends on glove material, thickness and controller settings | Pressure input can work with a gloved hand |
| What about a stylus? | Needs a compatible stylus and system | Can accept a suitable blunt passive stylus |
| What needs checking? | Input compatibility, water behavior and integration | Touch force, surface condition and input accuracy |
This comparison describes common designs. It does not make every capacitive screen multi-touch or every resistive screen identical. Ask for the sensor type, controller and supported input methods on the exact configuration being quoted.
How the two technologies work
Projected capacitive touch
A PCAP sensor uses a pattern of conductive electrodes. A finger near the surface changes the electrical coupling, and the controller calculates a touch position. Elo’s explanation of PCAP sensing describes this electrode-and-controller process.
This makes light-touch interaction possible without pressing flexible layers together. It can suit menus, information screens and interfaces with gestures. The application must still respond correctly to the events delivered by the operating system; buying a multi-touch sensor does not add gesture support to software that lacks it.
Resistive touch
In a typical resistive assembly, a flexible upper layer sits above another conductive surface. Pressure creates contact at the touched position. The controller reads the resulting electrical measurements and sends the location to the host. Elo’s five-wire resistive explanation shows how this works in its AccuTouch design.
Because input depends on pressure, the touching object does not need to behave like a bare finger electrically. This can be useful for a simple control interface operated with gloves or a suitable stylus. Surface construction and required touch force still affect the experience.
Choose around fingers, gloves and tools
For an unattended ordering terminal, customers normally expect a light tap to work. Test small selections, scrolling and corrections with people who have not seen the interface before. If users repeatedly press harder or tap twice, investigate the software response and controller settings as well as the sensor.
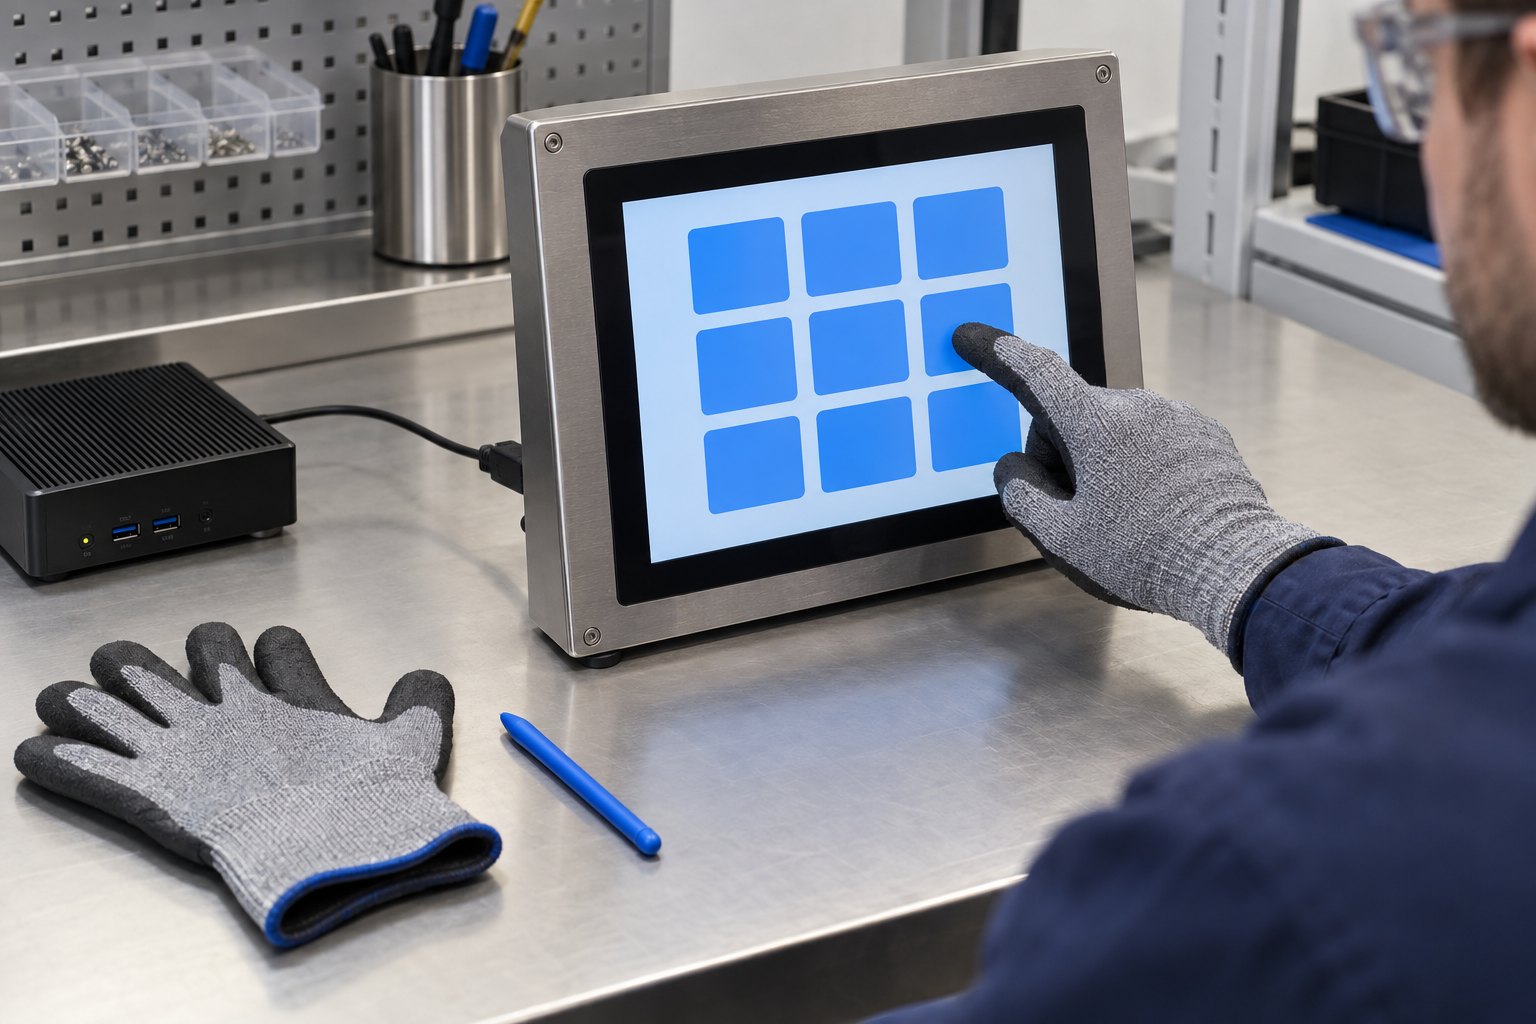
For staff-operated equipment, test the exact work gloves. “Glove compatible” is incomplete without the glove type and operating conditions. A thin disposable glove and a thick insulated glove are different inputs. Do not remove required protective equipment just to make a screen respond during a demonstration.
Elo lists finger, gloved-hand and passive-stylus input for its AccuTouch five-wire resistive product. Its PCAP TouchPro guidance also describes supported gloved input. These are examples of specified product behavior, not a reason to assume all screens accept all gloves.
Compare cleaning and wear in the actual setting
A glass-front PCAP assembly can provide a smooth surface that is convenient to wipe. Resistive assemblies commonly include a flexible surface, so repeated use and unsuitable tools need attention. Confirm the approved cleaning method, replacement options and warranty conditions for either design.
Use the manufacturer’s instructions for the entire terminal, including seals and enclosure openings. A touch technology name is not an ingress-protection rating. Likewise, a scratch-resistant surface is not proof that the display can tolerate every cleaning chemical or impact.
During a sample evaluation, check the high-use areas and the corners. A menu that works in the center but misses taps at the edges can create trouble once the final software adds a close button or navigation control there. Use normal cleaning and normal operating practices in the evaluation.
Outdoor operation needs more than a touch specification
Water, direct sunlight, heat and the front cover can affect an outdoor terminal in different ways. A capacitive sensor may need appropriate controller settings for wet conditions. The complete assembly also needs suitable display brightness, thermal management and enclosure protection.
Ask the supplier to demonstrate the intended input under representative conditions. Record whether the requirement is operation with dry hands after rain, touch through droplets, or use with wet gloves. Those are separate test cases. Avoid accepting a general “outdoor touchscreen” label as the full specification.
For a window or enclosure integration, agree the front-cover material and thickness before testing. Changing the cover after a successful demonstration can change touch behavior. Review the assembled unit with its actual bezel, grounding, cables and power supply.
Check the host computer and application
The LCD image connection and the touch-data connection perform different jobs. A screen may show the correct picture while touch input is disconnected or mapped incorrectly. Confirm the touch interface, driver requirements and supported operating system for the selected controller.
Test portrait orientation in the final application. Tap all four corners and check that the response appears under the finger. Repeat after a restart or display-setting change. With more than one display, confirm that touch is assigned to the intended screen.
For a self-ordering kiosk, include the full ordering path in the test. For an interactive information kiosk, include search, maps and the on-screen keyboard. Ask YJCEN to confirm the touch configuration for the proposed hardware rather than assuming every option is available across the range.
A practical touchscreen acceptance checklist
Use a short record with the sample model, sensor, controller, firmware, host system and application version. Keep the same test content when comparing suppliers. That makes differences in input behavior easier to identify and avoids comparing two unrelated interfaces.
- Tap large and small controls in the center and near each edge.
- Try the expected finger, glove and stylus inputs.
- Check scrolling and gestures that the application actually uses.
- Run the complete workflow, including canceling and correcting an entry.
- Restart the system and confirm orientation and touch mapping.
- Repeat relevant checks after normal cleaning and under agreed site conditions.
Record missed taps, unintended touches and tasks that need repeated attempts. Set acceptance criteria with the supplier before a volume order. A successful demonstration should establish that the proposed combination works for your job, not simply that the sensor reacts to a finger.
Frequently asked questions
Is capacitive always better than resistive?
No. PCAP is often a useful candidate for light-touch, customer-facing interfaces and gestures. Resistive may suit a pressure-operated, single-touch workflow with flexible input requirements. Compare the complete system against the actual tasks and environment.
Does a resistive screen always need calibration?
Do not assume one rule applies to every controller. Follow the supplier’s setup instructions and check accuracy after installation. Some products advertise stable calibration; mounting, drivers and screen mapping still need verification in the assembled terminal.
Can either technology work with a stylus?
Yes, with an appropriate combination. Conventional resistive input can use a suitable passive stylus. Capacitive input needs a compatible stylus and controller. Never use sharp tools as substitutes for an approved input device.
Send YJCEN your touchscreen application requirements, including gloves, orientation, operating system and installation environment, to review a suitable kiosk configuration.