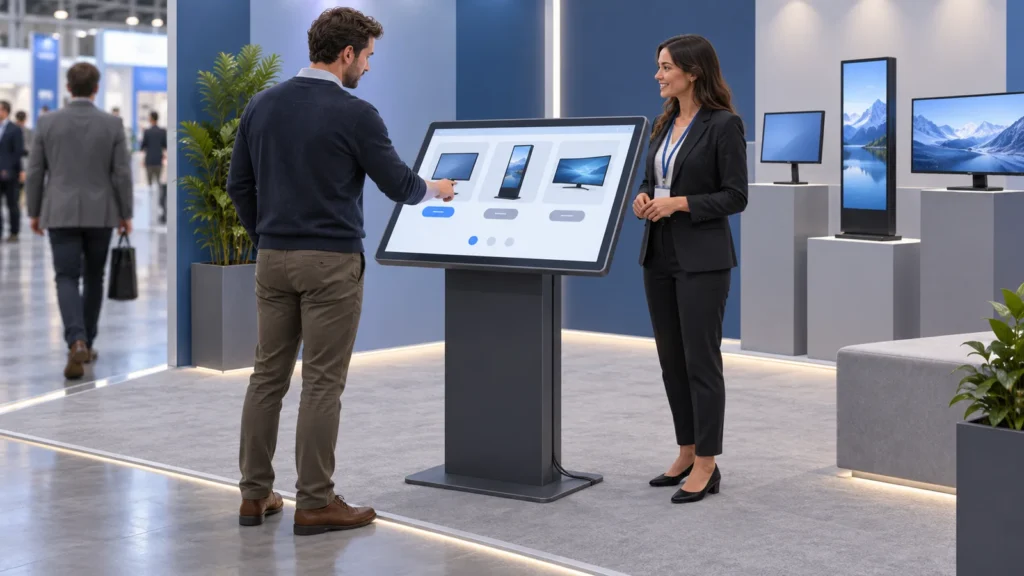
A trade show touch screen kiosk is useful when visitors can quickly find something relevant to their work. A large catalog alone does not create that experience. The booth team needs a clear starting screen, a short route to the right product and a way to continue the conversation when a visitor wants more detail.
Plan the content journey before choosing the final screen configuration. This guide covers product browsing, demonstrations, offline checks and practical booth operation. The suggested interface is a planning example; search, comparisons, language options and recovery behavior depend on the application selected for the project.
Give Visitors One Clear Starting Point
Choose product browsing or a guided demo as the main task
Decide what a visitor should accomplish without staff assistance. They might identify a suitable product family, explore the details of one model or watch a demonstration that answers a specific question. Choose the main task first so the opening screen does not compete with several unrelated calls to action.
For a broad product range, a few recognizable categories may be more useful than a long list of model codes. For a specialist product, a short guided demonstration may be the better starting point. Test the proposed opening screen with someone who has not prepared the catalog.
Ask that person to find an item relevant to a stated need. Watch which option they choose and where they hesitate. If they need a staff explanation before the first touch, revise the labels or grouping. The trial should test understanding, not how quickly a trained employee can complete the task.
Place the kiosk within the booth’s visitor flow
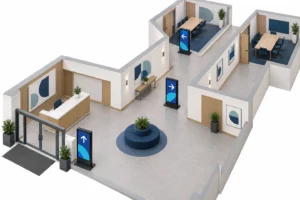
Mark the kiosk footprint, the visitor’s standing position and space for a staff member on the booth plan. Check that someone using the screen does not block the booth entrance or hide a physical product demonstration. Also consider where a second visitor can wait without obstructing the aisle.
Test the controls at the intended screen size and angle. Important actions should be readable and comfortably reachable by the intended users. A larger display is not automatically easier to use if navigation moves to distant corners or the interface simply fills the extra space with more choices.
Build a Catalog Visitors Can Navigate
Organize categories, product details and comparison content
Use a consistent structure for each product page: what the product is for, its relevant features, an accurate image and the next action. Keep technical details available when useful, but avoid making a visitor read a full specification sheet before understanding the product’s purpose.
Prepare a content record before building the interface. Identify the owner of each product description and the approved source for specifications. A catalog can remain visually polished while carrying an outdated feature, so include a review date and a way to replace the content before the next exhibition.
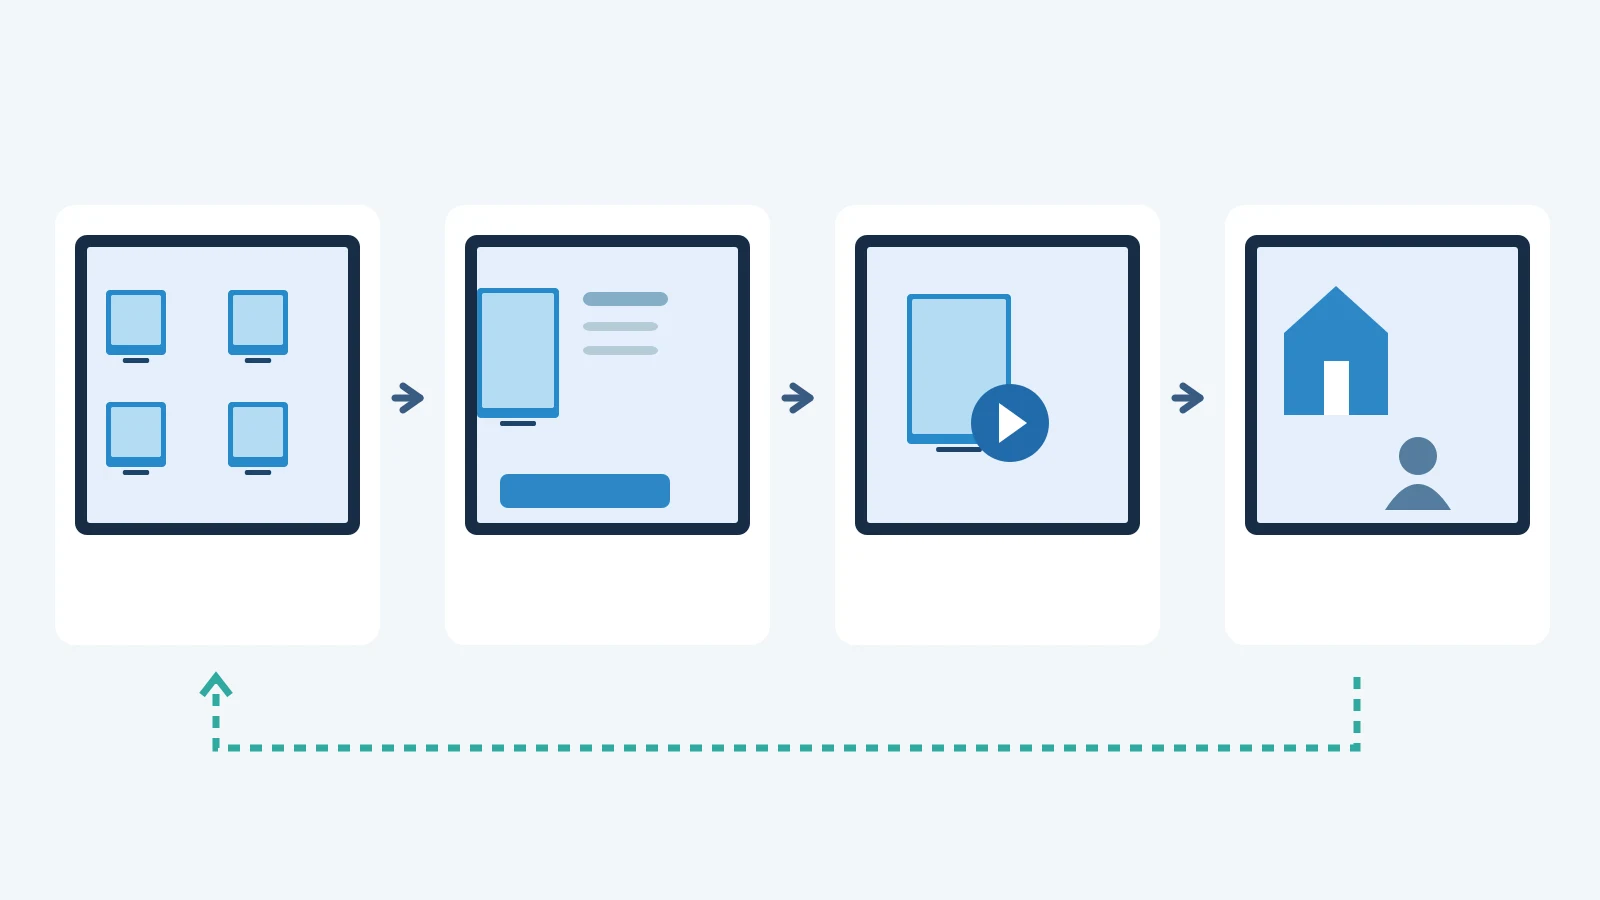
| Screen or step | Visitor’s question | Content to prepare |
|---|---|---|
| Category selection | Which range is relevant to me? | Clear category names and representative images |
| Product overview | What does this product do? | Use, verified features and an accurate product image |
| Product detail or comparison | How does it fit my requirement? | Comparable facts with consistent units and conditions |
| Demonstration | How would I use it? | A focused video or supported interactive sequence |
| Next step | How can I discuss my project? | A clear return path and staff-assistance instruction |
If the application offers comparisons, choose attributes that help visitors make a real distinction. Do not compare one product’s optional feature with another product’s standard configuration without explaining the difference. Keep units consistent and preserve the conditions attached to any performance figure.
For example, a display supplier could organize the first screen around indoor information, window advertising and outdoor information. Each category would lead to products intended for that environment. This makes the opening choice about the visitor’s application rather than requiring them to recognize internal model names.
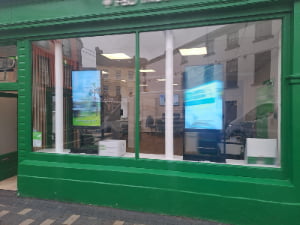
A visitor choosing window advertising could then open a product overview with an accurate image, intended placement and relevant configuration questions. The overview should keep the distinction between a display behind glass and a weather-exposed outdoor screen clear. A shorter interface must still preserve that product boundary.
The next step might offer a brief demonstration of content changing on the display. If the application supports it, the visitor could return to another size or ask staff about the mounting position. This is an example content journey, not a claim that a particular catalog application is supplied by YJCEN.
Before production, write the full wording for this journey in a simple content sheet. Review the category names, product claims, button labels and return instructions together. Building each screen from an unrelated marketing document can produce inconsistent terms and leave visitors unsure whether two labels describe the same product.
Keep Home, Back and staff assistance easy to find
Provide an understandable way to return from a product or video. Use consistent navigation positions and labels throughout the catalog. Test the complete route, including an incorrect selection, so visitors can recover without restarting the kiosk or asking a staff member to find a hidden control.
Decide what should happen when someone walks away halfway through a demonstration. An automatic return to the opening screen may be useful if the application supports it. Set and test the behavior for the actual content; a timeout that interrupts someone reading a detailed page creates another problem.
Prepare Short Demos That Support a Conversation
Match each demonstration to a customer question
Give each demonstration one purpose. It could show a product’s physical operation, explain a configuration choice or walk through an example task. Start with the useful action rather than a long brand introduction, and let staff explain further when the visitor has a more specific question.
Prepare captions or an equivalent on-screen explanation for important spoken information. Exhibition sound conditions vary, and visitors may prefer to browse quietly. Check the actual video controls and text size on the kiosk, rather than relying only on a preview viewed at a desk.
Keep demonstration claims aligned with the offered product. Label a proposed interface or conceptual workflow appropriately. A simulated ordering screen, for example, does not establish that payment processing, software licences or an integration are included in the kiosk hardware.
Provide a clear return to the catalog
After a video or interactive sequence ends, give visitors a useful next step. They may want to return to the product details, explore a related option or ask the booth team for help. Avoid leaving the screen at an empty player window or an unrelated external webpage.
Staff should be able to pick up the conversation from the product currently visible. Rehearse a handover in which a visitor asks a question midway through the catalog. Confirm that staff can explain the item and return the kiosk to its starting state for the next person.
Test Offline Use and Recovery on the Actual Application
Check local files, external links and required services
List which parts of the journey rely on a connection. Product photographs may be stored locally while videos, search results or a linked form come from an online service. A page that opened successfully during preparation is not proof that the entire catalog will work at the venue.
Ask the application provider what must be installed or downloaded in advance and whether sign-in or licence checks need connectivity. Prepare an appropriate fallback for unavailable online functions. If a link requires the internet, make that limitation clear rather than allowing visitors to reach a blank or stalled page.
Start the kiosk without a connection and repeat the visitor journey
Test more than disconnecting an already running demonstration. Follow the approved startup procedure without the expected connection, then open the catalog, select a product and play the intended media. Record the exact steps that remain available and the behavior of features that depend on online services.
Repeat the test after the final content update. Keep a copy of the approved files and installation information through the team’s normal process. The booth staff need a recovery procedure they can follow; they should not have to invent software settings while visitors are waiting.
Use a test record that distinguishes content availability from navigation behavior. A locally stored video may play correctly while its return button opens an unavailable webpage. Record both results. Ask the application provider to resolve the failed part or define a clear alternative before the booth team relies on it.
Test a visitor who changes direction midway through the journey. Open one category, return, select another product and start a different demonstration. This can expose broken links or navigation that only works when every screen is visited in the expected order.
If a demonstration requires a live service, decide what staff should do when it is unavailable. An approved local explanation may be a useful substitute. Label its purpose accurately and avoid presenting a recorded demonstration as a working live integration.
Rehearse Transport, Setup and Daily Operation
Confirm packing, handling, power and cable arrangements
Confirm the packed dimensions, weight and handling instructions for the actual kiosk. Check loading access and the route to the booth with the exhibition team. A floor-standing enclosure does not automatically mean the unit is designed for daily movement or can be carried by its screen.
Use the supplied model documents to plan assembly and fixing. Confirm power access and cable routing with the booth contractor before the equipment arrives. Keep connections accessible for the agreed support method, and arrange cables so they do not create an obstruction in the visitor route.
Rehearse unpacking and setup with the people who will attend the exhibition. Check which tools and supplied parts are needed, where packaging will be stored and who may assemble the unit. Use the equipment’s handling guidance; do not estimate lifting arrangements from the screen diagonal alone.
After setup, compare the working kiosk with the configuration tested before transport. Check orientation, touch alignment, application startup and local content availability. Record an issue before changing settings so the support contact can distinguish a transport or connection problem from a content change.
Give staff an opening check and a recovery procedure
Before opening, have a staff member complete the visitor journey using the final content. Check the current catalog, touch response, video playback and return controls. Repeat any network-dependent action that matters to the booth, and verify that the displayed contact details and product information are current.
Give staff a short response for common interruptions: a video does not start, a page does not return or the application reports no connection. Identify when they can use the approved recovery procedure and when to contact support. Keep visitors informed without promising that a restart will solve every fault.
After each exhibition day, collect specific observations. A repeated request for the same missing product detail may justify improving that page. Visitors abandoning the opening screen may indicate unclear categories. Use those observations to refine the catalog, rather than assuming every interaction problem requires a different screen.
- Start the kiosk using the approved procedure.
- Open a representative product and its demonstration.
- Check Home, Back and the agreed idle behavior.
- Confirm the offline fallback and support contact.
- At closing, follow the documented shutdown and packing process.
YJCEN’s interactive kiosk range is designed for information, directories and interactive content, with software selected for the project. The product page also shows a kiosk purchased for a Ford Pro exhibition stand in the United States. That example demonstrates a booth application, not a universal software package or a promise of exhibition results.
Send YJCEN your booth layout, preferred screen size, intended visitor journey and application requirements. These details help us discuss suitable hardware and the checks needed before the exhibition. Keep the software, content preparation and transport responsibilities explicit in the project scope.
Explore interactive kiosk hardware and the Ford Pro stand example