How do you choose a video wall controller?
Define the required picture layouts first, then choose a controller that maps the intended sources to the wall's outputs.
- Count physical inputs, simultaneous source windows and outputs separately.
- Confirm source resolution, scaling, panel mapping and bezel correction.
- A basic splitter duplicates a signal; it does not by itself assign different image regions to each panel.
- Test the final sources, displays and cables, including switching, restarts and return to the expected layout.
Start with a sketch of what viewers should see. Then check the number of sources, the output to each panel and how the layout will be operated. This guide focuses on those decisions before you order the controller and displays together.
What Does a Video Wall Controller Do?
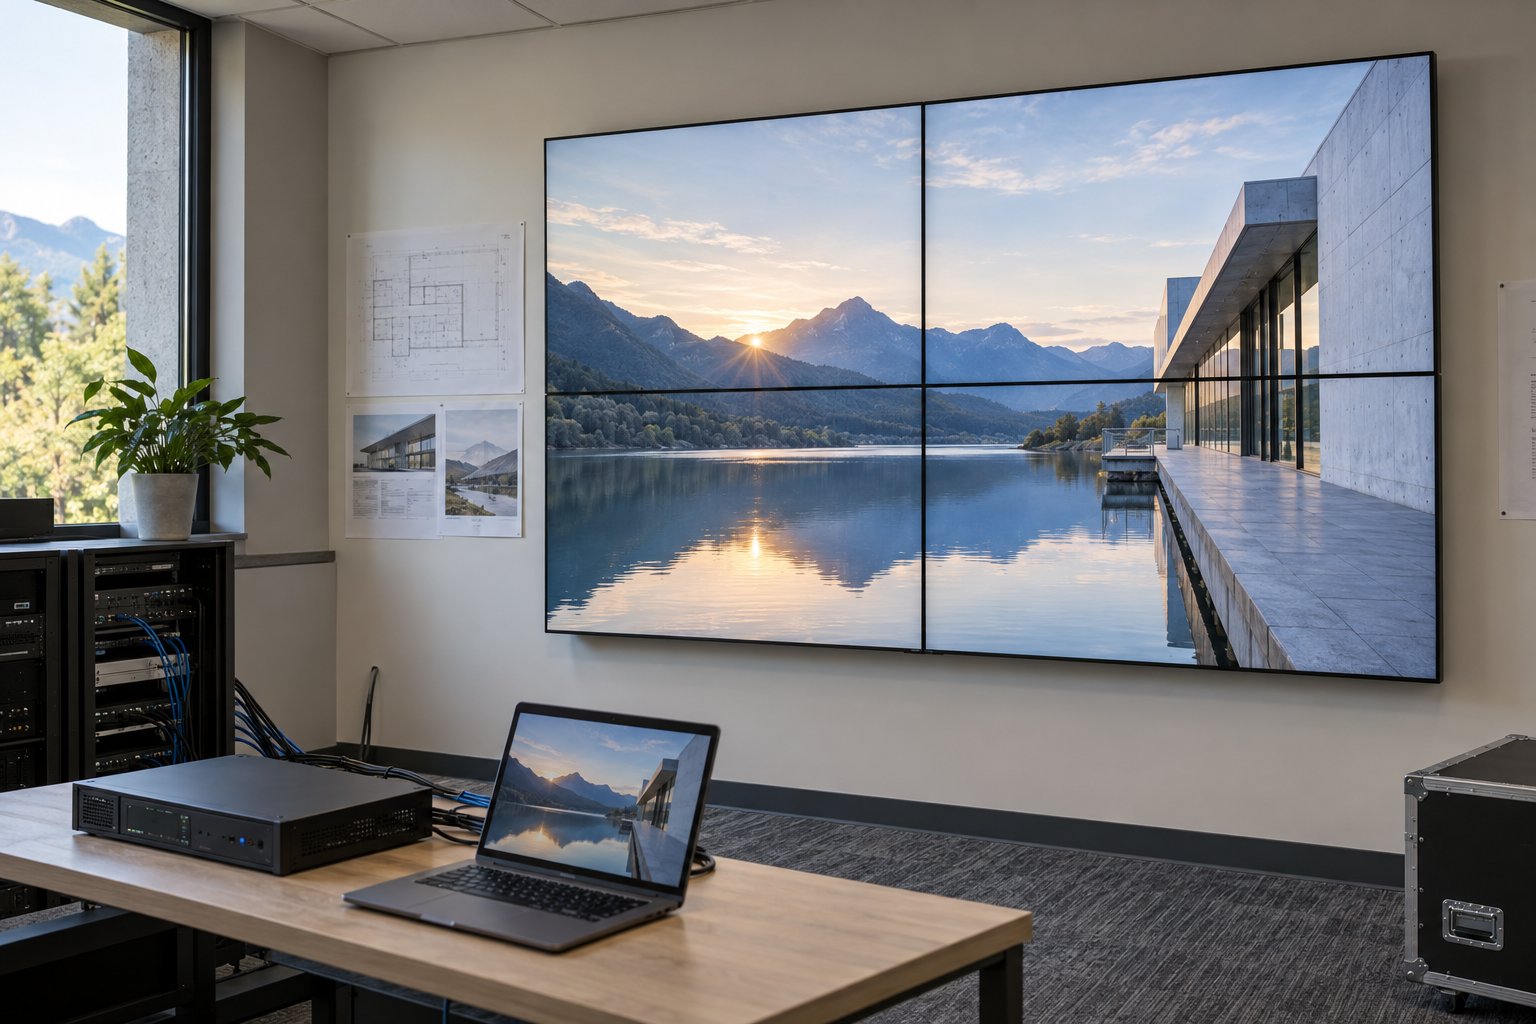
The controller sits in the signal path between your content sources and the screens. Depending on the model, it can select inputs, crop an image, scale it and send different regions to different outputs. A media player has a separate job: playing the files or application that supplies the content.
Manufacturers use several names, including video wall processor, display controller and multi-display processor. Compare the supported functions rather than relying on the name. For example, Datapath’s Fx4 documentation lists input choices, four display outputs and software for configuring capture regions. Other controllers have different input, output and layout limits.
Some commercial panels also have built-in tiling functions. Ask what the exact display model can do before adding a separate device. Built-in tiling may suit a fixed arrangement, but it should not be assumed to provide every function of a dedicated processor.
Choose the Layout Before the Hardware
A useful brief describes the normal screen layout and the most demanding one. A lobby that always plays one full-wall video has different needs from a room where staff must combine a presentation, a camera feed and a browser window.
| Required picture | What to confirm |
|---|---|
| One image across the whole wall | Source resolution, output mapping, scaling and bezel correction |
| A separate message on each panel | How each message reaches its assigned output and how it is updated |
| Several sources in a shared layout | Simultaneous source count, window placement and supported combinations |
| Layouts that staff change during the day | Saved presets, switching controls and recovery after restarting |
Mark any layout that is only a future possibility. A requirement to add two panels next year should be visible in the quotation now. Otherwise, a controller selected for today’s four outputs may have no practical expansion route.
Count Inputs, Sources and Outputs Separately
Input connectors do not automatically equal simultaneous windows. A unit may offer several input sockets but display only the selected source. Ask the supplier to demonstrate your intended combination of sources on the proposed model.
Also distinguish physical inputs from network streams or applications running on a computer. The equipment needed to capture a laptop signal can differ from the equipment needed to decode a network stream. Write down each source device, its connection and whether it must appear at the same time as the others.
For outputs, record which connection feeds each display. Include any adapters, extenders or intermediate devices in the signal diagram. The specification should cover the complete path, including the installed cable lengths, rather than just the controller’s rear panel.
Understand Resolution on a 2 × 2 Video Wall
Consider an illustrative wall with four 1920 × 1080 panels arranged in two columns and two rows. Its combined pixel grid is 3840 × 2160. Each panel still has 1920 × 1080 pixels; combining them does not make every panel a 4K display.
A suitable 2 × 2 video wall controller can assign the corresponding part of the source to each output. Check both sides of the specification: the formats it accepts and the formats it sends to the displays. A headline such as “4K controller” does not answer both questions.
Ask for resolution and refresh rate together. If the source is a presentation with small text, include that actual file in the demonstration. If it contains moving video, test that too. A system that looks acceptable with a still photograph may reveal problems with fine text or motion.
Do You Need a Splitter, a Processor or a PC?
A basic HDMI splitter duplicates a source signal. It does not, by itself, assign a different quarter of an image to each panel. A wall assembled with a splitter therefore still needs the appropriate tiling or processing function elsewhere in the system.
A dedicated video wall processor may provide the mapping and layout functions you need without a general-purpose PC. Other installations use a PC-based controller with suitable graphics outputs, capture hardware and software. Multi-source layouts are available in different architectures; a PC is not a universal requirement.
Choose by the demonstrated workload and who will maintain it. Ask which settings staff can change, how a configuration is backed up and what must happen after equipment replacement. For the playback side of the system, see our digital signage media player guide.
Check Panel Mapping and Bezel Correction
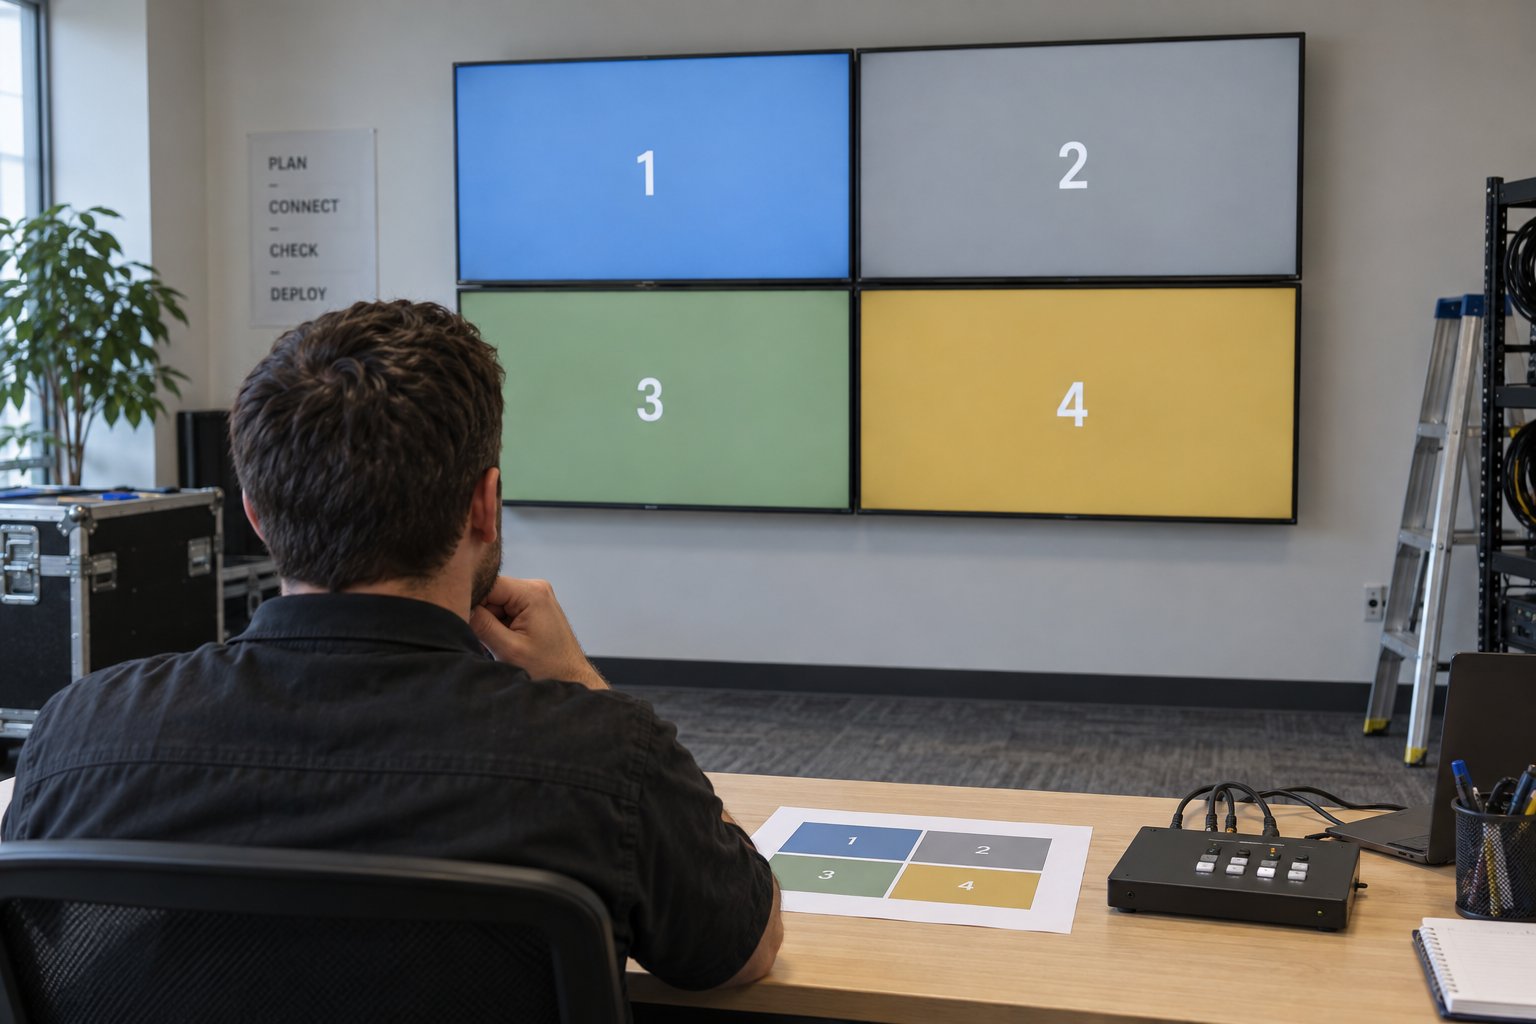
Before loading the final content, display an identification pattern on each panel. Match each output cable to the numbered position on your drawing. This makes it easier to find a swapped connection than trying to diagnose the wall while a video is playing.
Next, check a grid or image with straight lines crossing the seams. Bezel correction adjusts the picture to account for the physical borders between screens; it does not remove those borders. Agree whether the content should preserve its apparent geometry across the gap or keep all of its pixels visible.
Keep essential text and faces away from the joins where possible. Our LCD video wall bezel guide covers the display-side considerations. Controller settings and content layout should be reviewed with the actual panel arrangement.
Test the Complete System Before Acceptance
Use the intended source devices, displays, cables and normal operating layout. Move a test object across panel boundaries and watch for timing differences. Where synchronized playback is required, ask the supplier to show how synchronization is achieved across the proposed outputs.
- Start the system from power-off and confirm the expected layout returns.
- Switch between the sources and presets staff will actually use.
- Check the smallest important text from the intended viewing distance.
- Reconnect a source and confirm that the correct picture returns.
- Record the settings, cable labels and recovery steps for the operator.
Agree an acceptable recovery process instead of assuming every device restarts in the same order. Include access to the controller in the installation plan: a unit hidden behind a finished wall is difficult to service when a connection needs attention.
What to Send with a Video Wall Enquiry
Send the panel count and arrangement, proposed panel resolution, source list, sample content and required layouts. Add cable distances, operating hours and any expansion plans. A sketch with numbered panels is often more useful than a request for a “4K video wall package.”
Explore YJCEN’s LCD video wall displays, or send us your layout and source requirements to discuss the display configuration. Confirm the controller model and its tested functions in the project quotation.