What should a buyer confirm about LVDS and eDP?
LVDS and eDP are internal display connections. For a finished commercial screen, use the panel, cable and controller combination supported by the manufacturer.
- Keep internal panel connections separate from external HDMI or DisplayPort inputs.
- Record exact component models and revisions together.
- Verify content, native output, orientation and startup on the production sample.
- Treat a replacement as a controlled assembly change; matching connector shape or interface name does not establish compatibility.
This matters when specifying a custom kiosk, approving a replacement panel, or keeping spare parts for a signage rollout. The useful purchasing question is simple: which complete assembly has been checked, and what happens if a component changes?
What is the difference between LVDS and eDP?
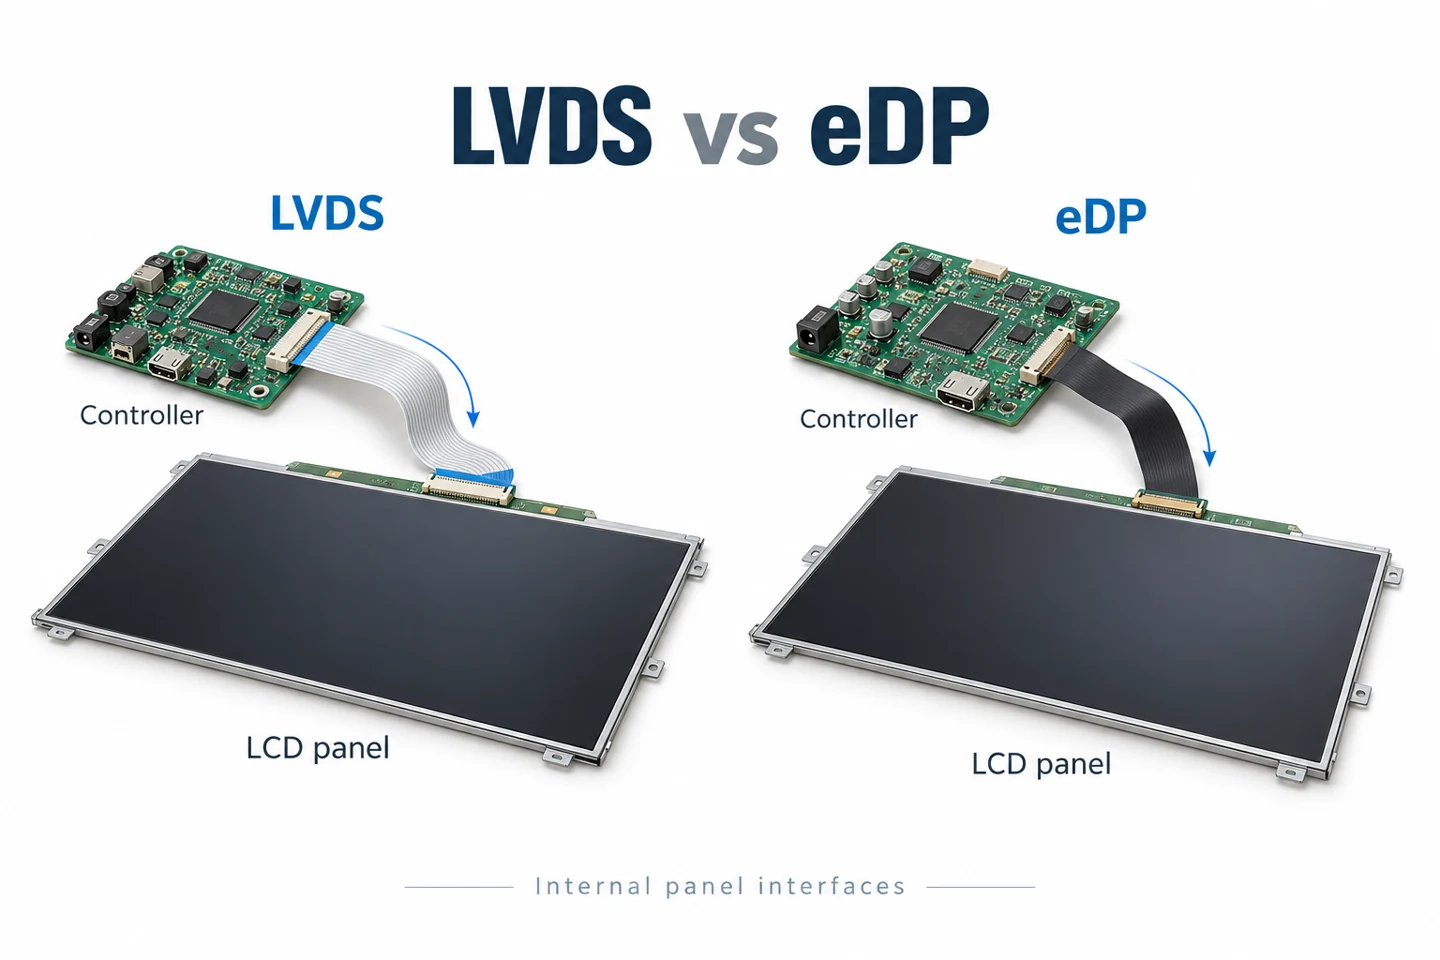
LVDS stands for low-voltage differential signaling. In LCD panel applications, it is commonly associated with a connection that carries image data from a controller to the panel. The exact data mapping, timing and electrical requirements come from the component documentation.
eDP means embedded DisplayPort. It is a DisplayPort-based interface designed for an internal display connection. A panel using eDP still needs a controller, cable and configuration that support its particular requirements.
Neither name is a complete specification. A quote saying “LVDS panel” or “eDP panel” does not tell you everything needed to approve a replacement. Ask for the full panel part number and revision, then the supported controller and cable details.
Internal panel connections are different from external inputs
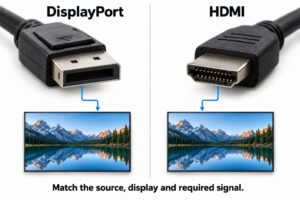
An external media player may send video through HDMI or DisplayPort to a commercial display. Inside that display, electronics process the input and drive the LCD panel. The internal connection is a separate part of that path.
That is why an HDMI socket on the cabinet does not identify the panel interface. It also explains why an external DisplayPort cable is not evidence that the internal panel uses the same connector or wiring.
Texas Instruments documents bridge devices for converting processor outputs to LVDS or eDP panels. Conversion belongs in an engineered design. A cable that physically fits is not a substitute for a supported conversion circuit and configuration.
Confirm the panel, cable and controller together
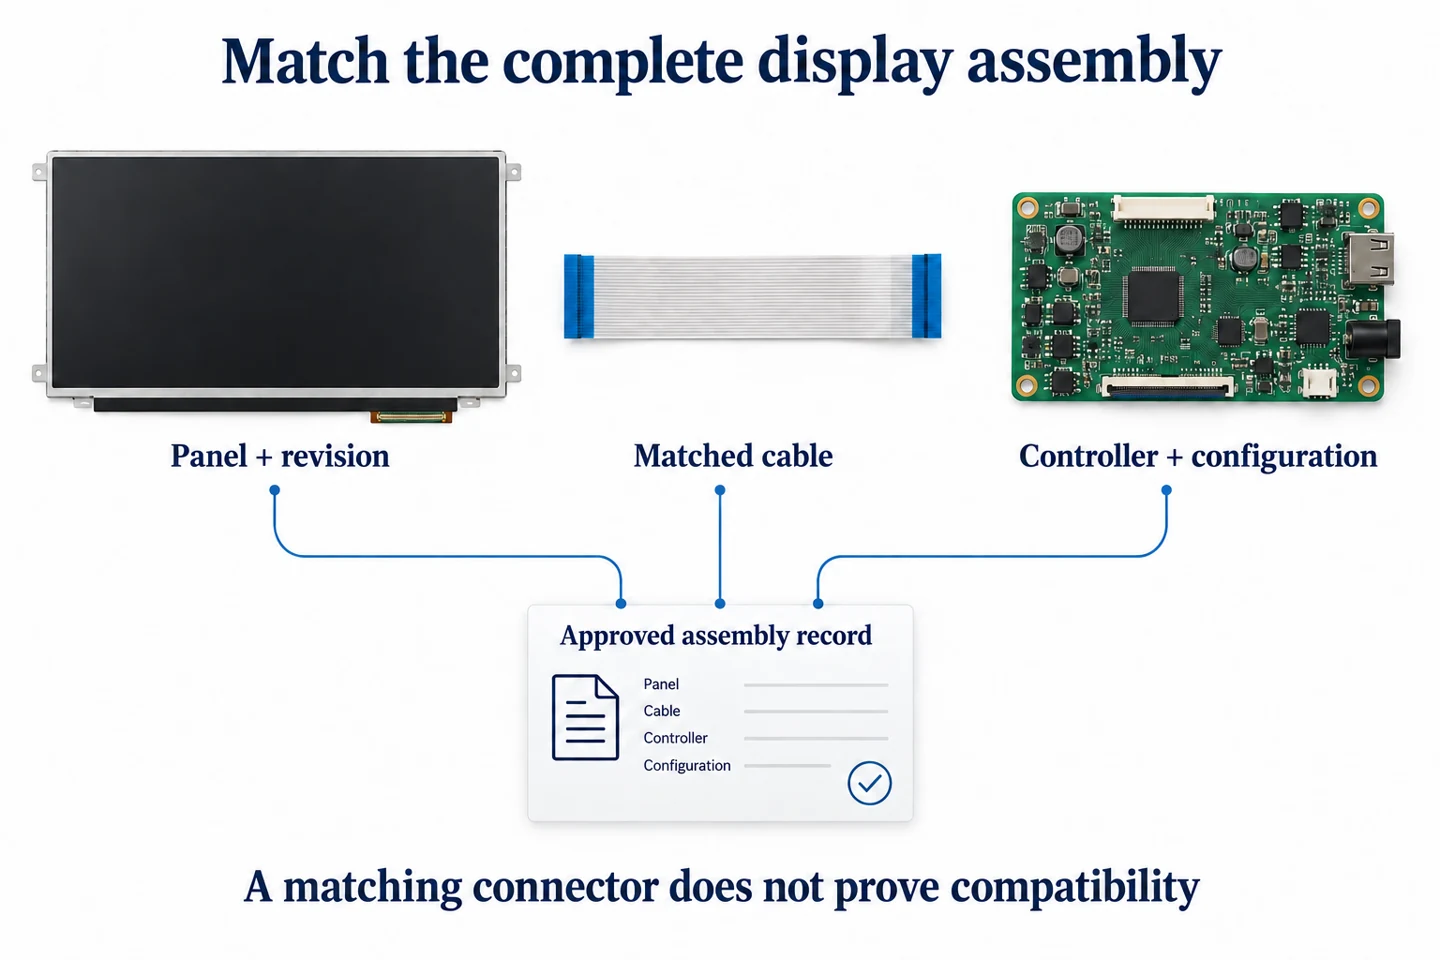
Keep these items in one assembly record. If the supplier changes the panel revision, review the record before approving shipment. A familiar model name on the outside of the cabinet is not enough to establish that its internal parts are unchanged.
Panel identification
Request the panel manufacturer’s full part number and revision. Record its native resolution, supported timing and interface specification. Keep the source document with the project rather than relying on a shortened description in a purchasing spreadsheet.
Cable and connectors
The engineering team should confirm connector orientation, pin assignments and cable routing against the documentation. Pin count alone is not a compatibility check. Do not swap internal cables between units merely because their connectors look alike.
Controller configuration
Record the supported board revision and panel configuration. Include firmware identification when the supplier uses it to distinguish assemblies. A controller capable of driving one panel does not automatically support another panel of the same size.
What should a sample check include?
Use a complete sample with the proposed production parts. Agree on a test sequence before acceptance so the supplier and buyer evaluate the same behavior. The following are practical checks to request, not claims that every display supports every operating mode.
- Confirm the documented panel, controller and cable match the sample.
- Display the intended signage content at the agreed native output mode.
- Check image orientation, edge visibility, fine text and color patterns.
- Restart the unit and confirm it returns to the intended input and image.
- Test supported sleep or standby behavior where the project requires it.
- Record the configuration and any limitations alongside the sample result.
A photograph of a working screen captures only one moment. Ask which input, image mode and software configuration produced that result. Keeping those details makes later troubleshooting more useful than comparing photographs taken under different conditions.
For a touch kiosk, test touch separately. A correct picture does not show that touch coordinates, portrait mapping or the application work correctly. Our projected capacitive touch integration guide covers that part of the assembly.
Handle replacements as controlled component changes
Before ordering a spare panel, send the supplier the equipment identification and approved assembly record. Ask for a confirmed replacement combination. Avoid opening an installed unit just to guess the interface when service records can provide the answer.
If a component is unavailable, request a written description of the proposed substitute. Establish whether the cable, controller settings or mechanical arrangement must change. Then agree on a sample check before applying the change across multiple units.
Internal work should remain with qualified service or integration staff. This article is a procurement guide, not a panel rewiring procedure. It intentionally does not provide a universal pinout, voltage or connection sequence.
Read the interface specification as a set of requirements
When two quotations use the same interface name, compare the documents behind them. Start with what is fixed in the project: an existing panel, an existing controller, or a complete new display. That determines which compatibility questions the supplier needs to answer first.
For an existing panel, the controller must support that panel’s documented requirements. For an existing controller, the proposed panel must be a supported choice for the actual board and configuration. For a complete new unit, ask the manufacturer to retain the approved combination as part of the production record.
Keep image requirements separate from control requirements. Native resolution, refresh timing and color configuration describe the intended image. Startup, standby and brightness controls describe operating behavior. Ask how the proposed assembly satisfies both groups; a successful static image is not evidence of every control function.
The panel’s supply and sequencing requirements also belong in the engineering review. They should be confirmed from documentation by qualified staff. A buyer does not need to improvise an electrical test to request a written compatibility statement and a repeatable demonstration.
Use a clear boundary when reporting a display problem
A screen that goes blank is a symptom, not an interface diagnosis. The external source, input selection, controller configuration, panel connection and backlight operation can all be relevant parts of a service investigation. Report what you can observe before naming a component as the cause.
For example, record whether the display’s own menu appears. If it does, tell the supplier which external source and input were in use when the picture disappeared. If it does not, record startup indicators and any repeatable behavior without opening the enclosure.
A color error should be documented differently from a complete loss of image. Save the source test file and describe whether the problem affects the whole screen, a region or certain colors. Do not conclude that the cable must be faulty from a photograph alone.
| Observation | Useful information for the supplier | What it does not establish |
|---|---|---|
| No external picture | Source, selected input, output mode and whether the on-screen menu appears | Which internal component has failed |
| Image appears after a restart | Startup order and whether the behavior repeats | A permanent repair or a confirmed root cause |
| Unexpected colors or image position | Original test file, display mode and configuration record | That an interface family is inherently unsuitable |
| Touch and picture disagree | Screen orientation, touch mapping and application behavior | That the video interface also carries the touch connection |
These records help a service team narrow the investigation. They do not replace the manufacturer’s diagnostic procedure. Stop using a unit and follow its service instructions if its condition makes continued operation inappropriate; do not reseat internal wiring while it is powered.
Agree on startup and recovery behavior before a rollout
A shop display may be switched on each morning. Another installation may keep the screen running while only the player restarts. Write down the intended sequence because the two arrangements exercise different parts of the system.
During sample acceptance, ask the supplier to demonstrate the supported operating sequence with the proposed hardware. Record whether staff must select an input or acknowledge a message. If an installation needs unattended recovery, make that a stated requirement rather than an assumption.
Test more than a single convenient image. Include the real application or playlist, its intended orientation and its normal transitions. This does not need to become an arbitrary endurance claim. The objective is to check the behavior the project actually depends on.
Keep an issue list for the sample. For each item, note the condition, expected behavior, observed behavior and agreed resolution. Ask for a fresh demonstration after a configuration change. A resolved item should refer to the revised configuration, not an earlier sample’s records.
Plan spare parts around the supported assembly
For a small installation, a complete replacement unit may be easier to manage than several internal spare components. For a larger rollout, a qualified service partner may prefer approved subassemblies. Discuss that service arrangement before deciding what to stock.
Ask how the supplier identifies compatible spares and communicates component changes. Keep the commercial model, production batch and relevant assembly revision together. An internal panel’s part number is useful, but it should not be the only record attached to an installed unit.
If a replacement requires a revised controller or cable, ask whether it should be supplied as a matched set. Clarify which configuration record applies afterwards. This avoids having several similar-looking parts in storage with no reliable way to identify the supported combination.
Do not assume a different interface is a drop-in upgrade. A change from LVDS to eDP, or the reverse, may involve the controller, cable and mechanical arrangement as well as the panel. Approval should follow an engineering review of the complete proposal.
Common purchasing questions
Does eDP automatically give a better picture?
No interface name guarantees the quality of the finished display. The selected panel, supported image mode, optical construction and content all affect the result. Compare the assembled displays against the project’s requirements instead of ranking them only by the connection label.
Can I order a replacement using screen size and resolution?
Those details help identify the requirement, but they do not confirm a compatible replacement. Include the full equipment and panel identification, the approved configuration and the supplier’s replacement instructions. Obtain confirmation before purchasing or fitting a substitute.
Will the internal interface determine my signage software?
The application normally runs on the media player or integrated computing platform. Its requirements need to be checked there. An internal panel interface name alone does not establish operating-system support, application compatibility or remote-management features.
Is touch part of the same compatibility check?
It is part of complete kiosk acceptance, but it needs its own checks. Identify the touch controller, its supported connection and the application requirements separately. Keep the video assembly record and touch configuration linked in the project documentation.
Which interface should you request for a commercial project?
For a finished signage unit, start with the required size, resolution, installation, external inputs and operating conditions. Let the manufacturer identify the supported internal assembly. There is little value in insisting on an interface name without a project requirement behind it.
For an OEM integration, share the existing controller constraints and panel requirements early. If either is fixed, ask the supplier to check the combination before committing to the enclosure or production quantity.
Explore YJCEN’s commercial displays and kiosks, or send the project requirements to our team. Internal interface availability must be confirmed for the selected configuration; it is not a shared specification across every product.
What to send with an integration enquiry
Send a short description of the intended assembly and identify which components are already fixed. If you are replacing an existing unit, include its equipment label and the supplier’s service record. If you are developing a new enclosure, include the available space and the proposed external connections.
Separate mandatory requirements from preferences. An existing controller that must remain in production is a constraint. A preference for a particular interface is different unless it follows from that controller or another documented requirement. Making this distinction helps the supplier propose a workable combination.
Include the quantity, sample approval process and expected service arrangement. Ask which documents will accompany the sample and which identifiers will appear on the delivered assembly. These practical details make a quotation easier to evaluate and reduce uncertainty when a spare is needed later.
Before accepting the proposal, check that its component list matches the sample record. Resolve any substitution in writing. Keep that approved record with the installation documents so purchasing, integration and maintenance staff can work from the same information.
Technical references
Texas Instruments: display interface and bridge devices; DisplayPort: external connections and internal LVDS conversion; VESA: the embedded DisplayPort interface.