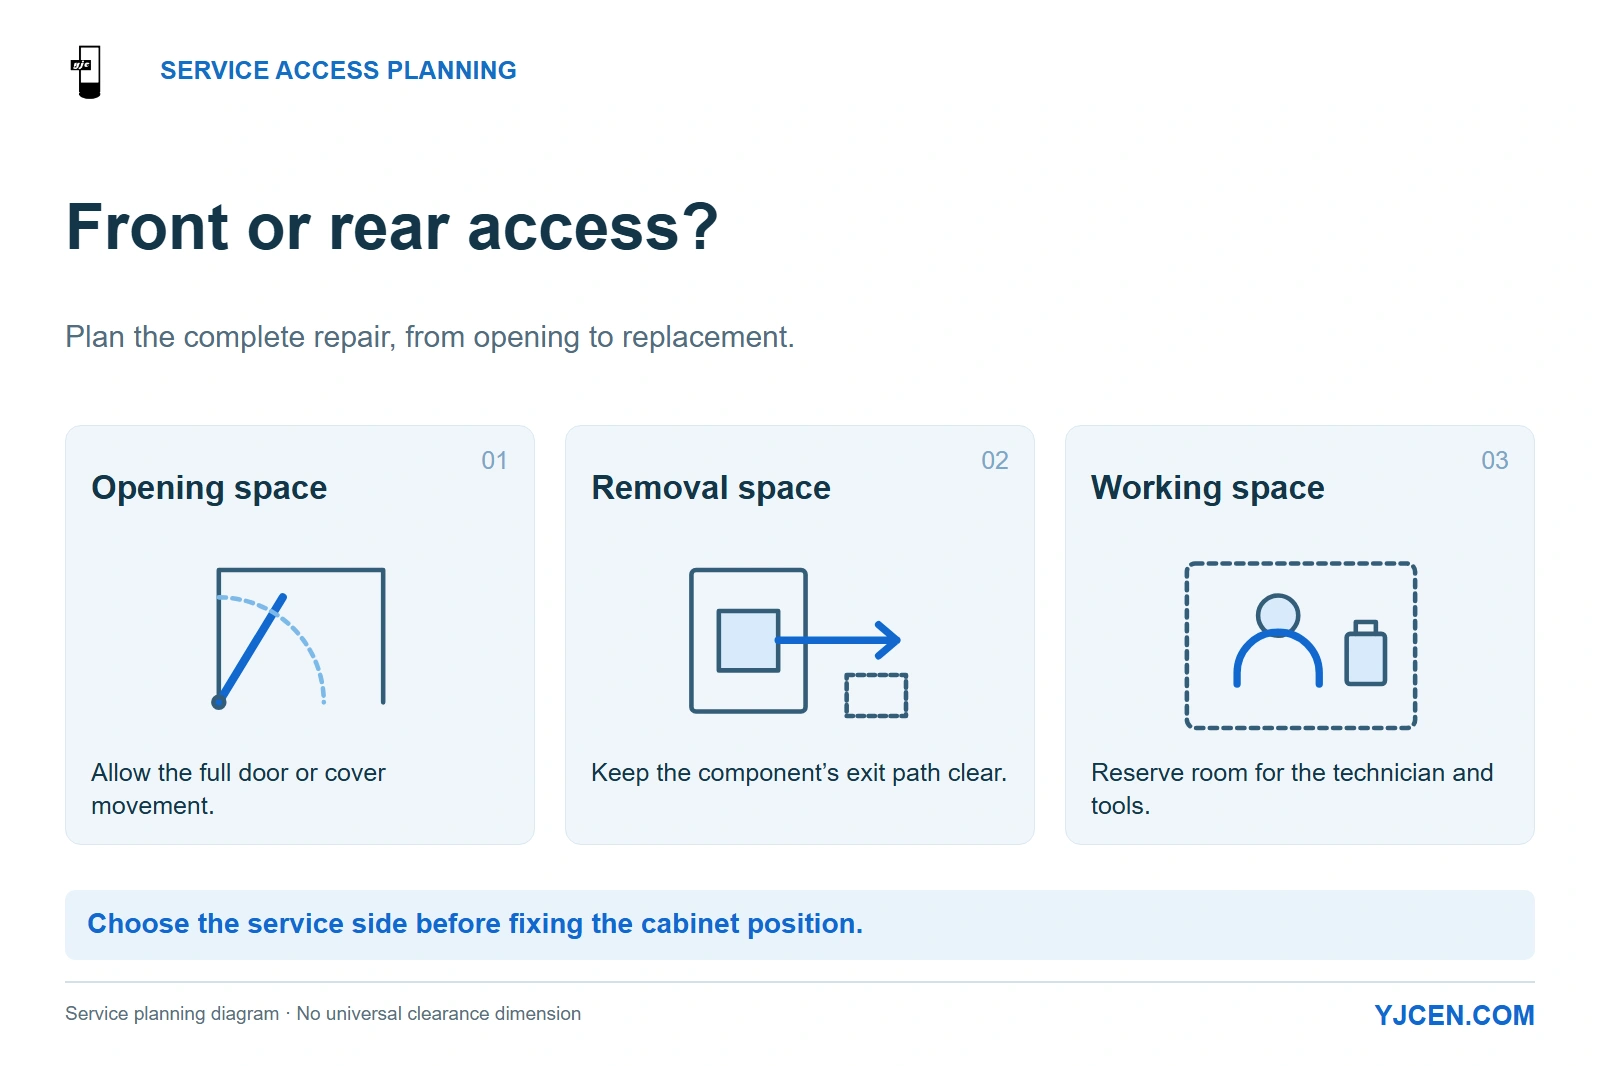
Plan opening space, component removal and technician access together. The cabinet footprint alone does not define the service area.
Specify front service when a solid wall blocks the rear and routine repairs must happen with the display installed. Choose rear service when technicians can reach a dedicated working area behind the cabinet without disrupting the viewing side. For YJCEN’s Outdoor Wall-Mounted Digital Signage, settle that service requirement alongside the mounting position, before releasing the enclosure order.
Choose the access side by the repair you need to complete: open the cabinet, reach the connections, remove the component and close the unit again. An opening that allows inspection may still be too restricted for replacement.
1. When Does Front Access Solve the Installation Problem?
Front access puts the service opening on the display-facing side. It suits a solid-wall installation where there is no usable route behind the enclosure, provided the front working area remains accessible after the site opens.
Write the requirement as a task: “Replace the power supply and playback hardware from the front while the cabinet remains mounted.” This gives the quotation a clear mechanical requirement; the phrase “front-access display” alone leaves room for different interpretations about which parts are reachable.
A hinged front assembly, a removable cover and a mechanism that moves the complete display away from the wall create different working spaces. Specify the proposed opening arrangement and its supported service position, then reserve that space around the installed unit.
| Site condition | Access choice to specify | Effect on installation or service |
|---|---|---|
| Solid wall behind the display; front area can be controlled during service | Front service for the named replacement tasks | Routine component work can be planned without access through the wall |
| Accessible service room behind the screen | Rear service through a coordinated opening | Work can take place away from the viewing side |
| Wall-mounted screen above normal working reach | Access side plus the planned access equipment | A front opening still needs a practical way for technicians to reach and support the work |
| Freestanding cabinet beside a fence or planted border | Rear access only if the working area remains usable | Fence posts, planting and gates must sit outside the opening and removal paths |
| Neither side offers a usable work area | Move the display or revise the enclosure and support arrangement | Avoid making whole-unit removal the unintended routine repair method |
Front service is most valuable where removing the complete display would interrupt trading, require lifting equipment or disturb finished cladding. Keep the front work zone usable: a café table, queue rail or permanent planter can block it just as effectively as a wall blocks the rear.
2. How Much Space Does Rear Access Need?
Size rear access around the open cabinet and the largest component scheduled for on-site replacement. A narrow wall gap may admit air or a cable while leaving no room for a technician, a tool or a replacement power supply.
Mark three areas on the site plan:
- Opening space: the door or cover’s complete movement, including its handle and supported open position.
- Removal space: the path needed to disconnect and take out the relevant component.
- Working space: the technician’s position, tools and route to carry the part away.
Use the selected cabinet’s opening geometry and service procedure to dimension those areas. A single generic clearance figure would miss differences in hinge position, door size and component layout.
The 55-inch single-sided configuration of YJCEN’s Outdoor Floor-Standing Digital Signage illustrates why this matters. Its cabinet is 1990 mm high, 800 mm wide and 125 mm deep, while its base measures 800 × 400 mm; the drawing places the lock, air inlet and air outlet on the rear face.
For that layout, keep the rear face reachable and the ventilation openings clear when positioning a fence or landscape border. The 400 mm base depth describes the installed equipment footprint; the door movement and technician’s working area extend the site-planning task beyond that footprint.
If a display is serviced through a wall cavity, align the building’s access opening with the component removal path. A hatch opposite the connectors may still leave the power supply trapped behind a stud or a fixed cladding panel.
3. Can the Filter, Power Supply and Player Use the Same Service Route?
Specify service access by component. Routine cleaning, an electronics swap and LCD replacement can require different openings, tools and handling arrangements even within the same cabinet.
| Service task | What the access arrangement must allow | What to put in the quotation |
|---|---|---|
| Air-path cleaning and filter service, where fitted | Reach the inlet and outlet; remove and refit any serviceable filter without obstructing the surrounding installation | Filter fitted or not fitted; service side; removal direction; cleaning or replacement method |
| Power-supply replacement | Reach the fixings and connectors, then withdraw the unit after safe isolation | PSU replacement side; parts removed first; whether the cabinet stays mounted |
| Playback hardware or connection service | Reach the controller or external player, its ports and the cable termination points | Internal controller or external player location; access route; connection and restart procedure |
| LCD or front-glass replacement | Support and move the larger assembly through the available opening | Replacement method; handling equipment; whether the complete display must be removed |
YJCEN’s 55-inch OD-F uses fan cooling with rear air openings. Keep those openings accessible for cleaning, and add filter removal to the same service route when the ordered cooling assembly includes a serviceable filter.
For playback, locating an external player in an accessible indoor equipment space can move player replacement away from the outdoor cabinet. That choice still leaves the outdoor display’s power and internal electronics needing their own service route, so show both locations in the RFQ.
Plan electrical isolation before cabinet work. The UK Health and Safety Executive’s equipment-maintenance guidance emphasizes safe access, a safe working area and isolation of power before most maintenance; place the isolation point where the service team can reach and control it.
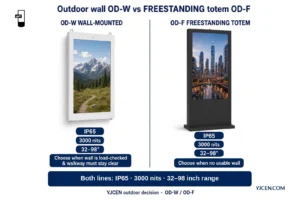
4. What Changes Between a Wall-Mounted Display and a Freestanding Totem?
Wall-mounted: include the cost of removing the whole unit
The 55-inch landscape OD-W measures 1420 × 930 × 198 mm, weighs 92 kg and includes a reinforced wall-mount bracket. Plan access and handling for that complete unit if removal is required; confirm the removal procedure on the selected mounting drawing.
If routine power-supply or controller replacement requires that removal, include the handling equipment and access arrangements in the service price. Specify front service for those tasks when the project needs the display to remain on the wall; make any separate whole-unit removal method explicit for larger repairs.
Keep cladding and wall recesses clear of the selected cabinet’s cooling and service openings. Reserve the opening and working space before fixing the surrounding panels in place.
Freestanding: lock the service side before the base location
The 55-inch single-sided OD-F weighs 120 kg and is fixed through its base. Plan routine service around the installed cabinet rather than treating it as a movable sign that staff can pull away from an obstruction.
Place the rear working area on the site plan before setting the anchor and cable-entry positions. Coordinate that arrangement with the totem base and installation layout, especially where a kerb, fence or parking bay limits the approach.
Compare service visits, not just cabinet prices
Consider two proposed locations: a wall above an entrance and a totem beside a staff-only service path. The wall location may keep the pavement clear but require elevated access for each visit; the totem may allow work from ground level while consuming more site space.
Price the same named task for each layout, including access equipment, labour, area closure and any complete-unit removal. Use that task to agree who supplies keys, who can authorize access and when work may take place; a technician’s arrival time and the time to restore the display are separate service commitments.
Once the access layout is settled, complete the outdoor display buying checklist for exposure, brightness, power and playback requirements. Keep the component access schedule attached to the same RFQ so the quoted hardware fits both the viewing position and the service plan.
5. RFQ Paste Lines: Specify the Service Task and Its Access Route
Paste the following into the enclosure enquiry and attach a marked site plan. Record the required outcome for each service task so proposals with different opening mechanisms can be compared on the same basis.
6. Frequently Asked Questions
Does front access mean every component can be replaced from the front?
No. Name the power supply, controller, LCD and other relevant parts separately in the service schedule.
Can a rear-access display go against a solid wall?
No, if its required rear service route becomes blocked. Provide usable rear access, specify front service or move the installation position.
Is there one minimum rear clearance for every outdoor display?
No. Set the clearance from the selected opening geometry, component removal path and technician’s working position.
Can I use the totem’s base depth as its service clearance?
No. Plot the open door, component removal and working area separately from the base footprint.
Does fan cooling mean the cabinet has a replaceable filter?
No. Include a filter-service task only when the ordered cooling assembly contains a serviceable filter.
Should routine component work and complete-display removal be quoted separately?
Yes. Their handling equipment, staffing and site-access requirements can differ substantially.
Send the Site Layout for a Service-Access Proposal
Send YJCEN a plan and elevation showing the wall or base position, nearby obstructions and the available working area. Add the components you want replaced with the cabinet installed, plus any restrictions on service hours or access equipment, to discuss the mechanical fit through our custom display configuration service.