What should museum digital signage help visitors do?
Give each screen a specific job: find a gallery, understand an object or discover the next activity. Design the message around that visitor question.
- Place directions before route decisions and make them agree with physical signs.
- Connect exhibit content to the object in view, with detail available in a second layer where useful.
- Check readability, reflections and comfort under normal gallery lighting.
- Assign content owners and review dates, then pilot real files, captions and language choices before rollout.
A reception screen may need a clear map and today’s opening information. A screen beside an exhibit may need a close-up photograph, captions or a short film. Giving both screens the same slideshow usually leaves at least one of them doing the wrong job.
Start with the visitor’s next question
Walk through the building as a first-time visitor. Note where people stop, ask staff for directions or miss an entrance. Look at the route from seated eye level as well as standing height. The resulting list of decisions is more useful than a list of empty walls where a screen could fit.
- At the entrance: What can I see, and where should I begin?
- Before a junction: Which route takes me to this gallery?
- Beside an object: What detail should I look at?
- Outside an activity room: What is happening next, and can I join?
- Near the exit: Where can I find related resources or upcoming events?
Give each location one primary role. If a lobby display also carries event promotions, keep essential directions visible long enough to read. Visitors should not have to watch an entire advertising loop to find a lift or accessible route.
Match the museum display to its location
Entrance and reception
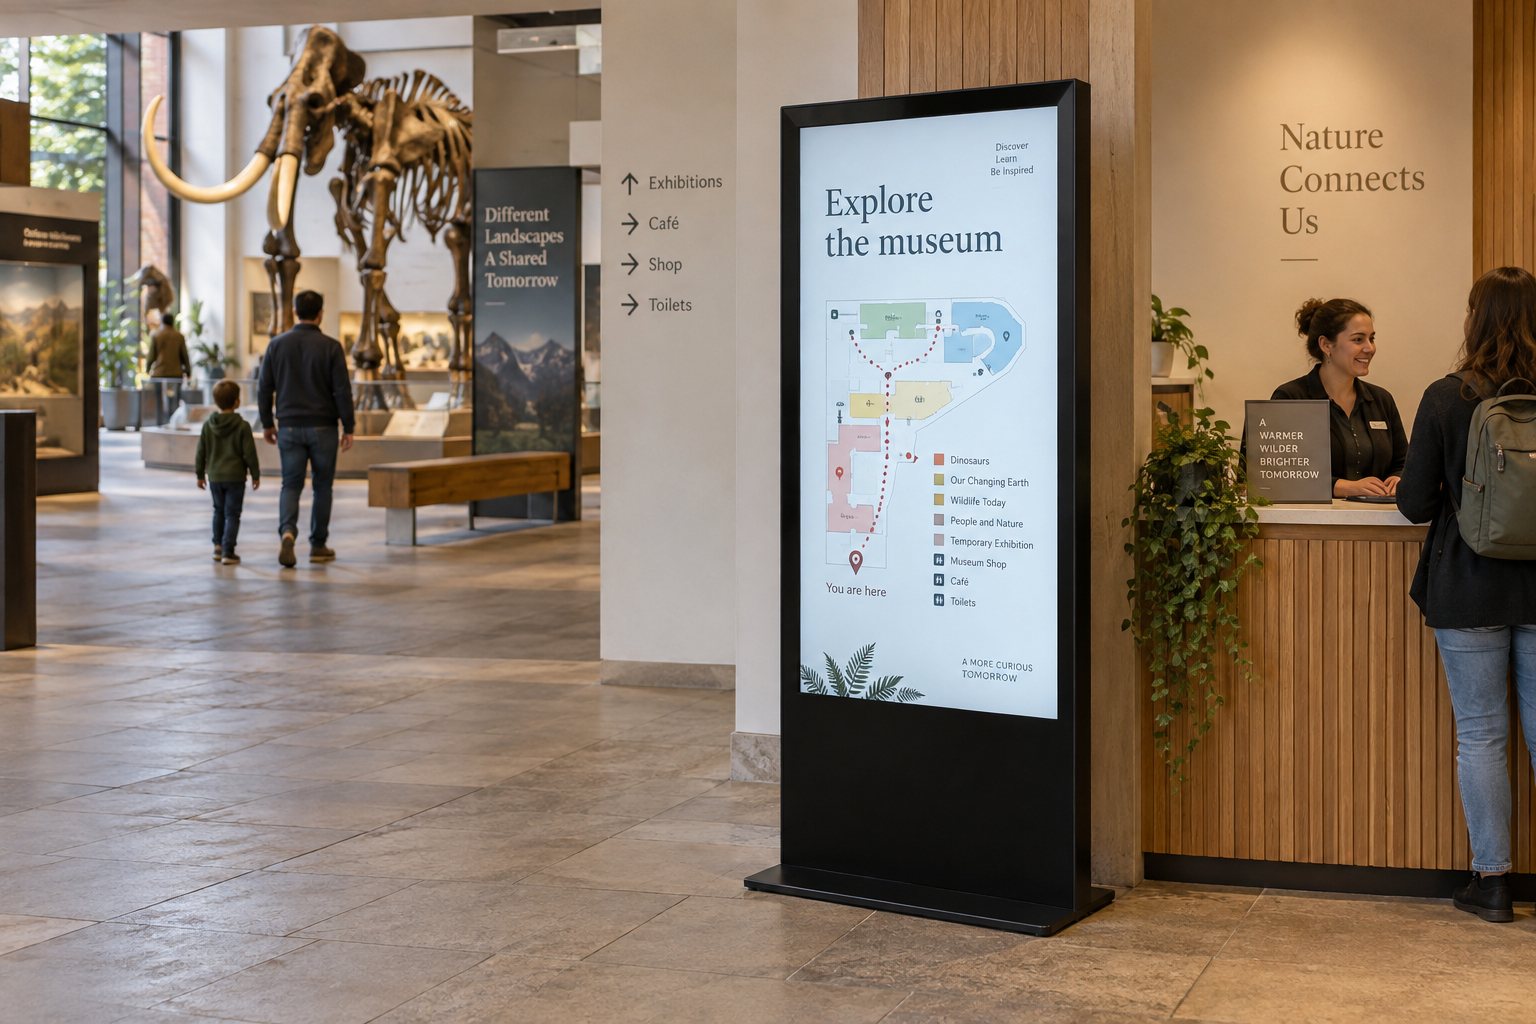
A portrait information display can place a map, current exhibition and service directions together without covering the reception desk. A floor-standing digital signage display is worth considering where wall space is limited. Check its footprint, power route and stability before deciding where it will stand.
Keep the screen clear of queues and door swings. Check the view when a school group arrives, rather than only when the lobby is empty. A display that is visible in a quiet photograph may disappear behind people during the busiest part of the day.
Gallery and exhibit interpretation
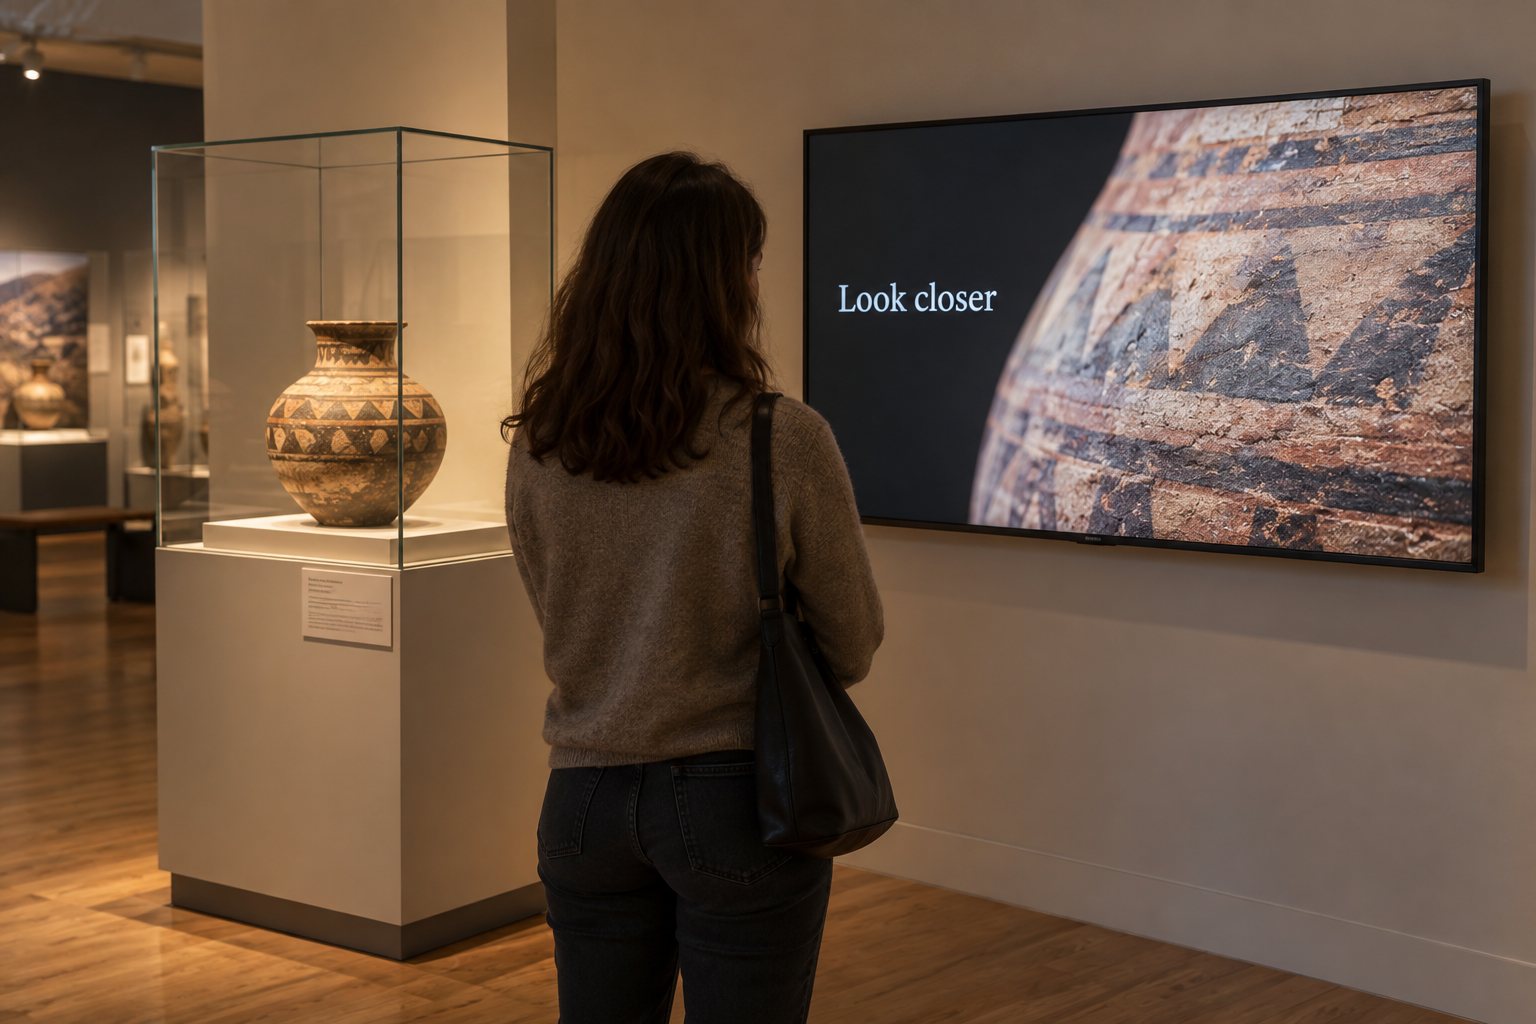
Use a screen near an object to show something the visitor cannot easily see: a close-up, an alternative view or a short explanation of a process. Keep the connection obvious. A visitor should know which object the screen describes without searching for a tiny reference number.
For a fixed installation, compare wall-mounted commercial displays with the available wall structure and viewing position. Confirm the model’s mounting orientation, operating schedule and service clearance. A brighter screen is not automatically better in a dim gallery.
Interactive exploration
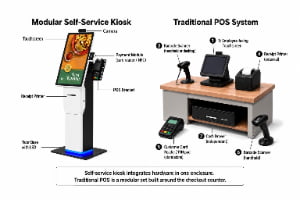
An interactive kiosk suits a task where visitors choose a language, browse a collection or explore a map. It adds interface design and maintenance work. Use touch when the choice itself improves the visit, rather than adding a touchscreen to a video that only needs to play.
Test the whole interaction, including the return to the starting screen. A kiosk left deep inside the previous visitor’s search can confuse the next person. Confirm how the application clears temporary selections and resumes after a restart.
Build content around the object, not the screen
Choose a single opening message for each exhibit screen. Start with an image or question that connects directly to the object in view. Put additional detail in a second layer, such as a visitor-controlled page, rather than shrinking a long label until it becomes unreadable.
Use the museum’s approved object records as the factual source. Record who checks names, dates, translations and image permissions. A reusable template can help staff maintain consistency, but it should leave room for different kinds of collections and interpretation.
Video needs its own review. Check whether the story still makes sense without sound. Provide useful captions where appropriate and avoid relying on audio to carry the only explanation. Several nearby films playing aloud can compete with staff, guided tours and one another.
Samsung’s museum display case study illustrates the use of screens for exhibit information and wayfinding. It is an example of different screen roles within a venue, not evidence that every museum needs the same display count or specification.
Check light, reflections and comfort in the gallery
Review a sample screen in its intended position with normal gallery lighting. Look for reflections from display cases, skylights and spotlights. Check dark images as well as a bright menu screen. A reflection that is barely visible on white can obscure important detail in an archival photograph.
Agree on brightness with the gallery and conservation teams where collection conditions are sensitive. Avoid choosing a setting solely from the screen’s maximum output. The aim is a readable image that works with the room and does not become the brightest distraction beside the exhibit.
Check text with actual visitors or representative users from the intended viewing positions. A layout that looks clear on the designer’s close-up preview may fail across a gallery. Use plain language, clear contrast and enough time to read changing information. Offer another way to obtain essential information when a touchscreen is unsuitable.
Plan updates before opening day
Assign an owner to every content group: reception information, temporary exhibitions, education activities and permanent gallery interpretation. Set a review date for temporary messages. Keep a record of which version belongs on each screen so an old exhibition announcement is not accidentally restored after maintenance.
Decide which content can run locally and which needs a live connection. A fixed film may continue without internet if the chosen player stores it locally. Current event availability needs a defined update process. Our online and offline signage guide explains why those requirements should be checked separately.
Give staff a simple daily check: is the correct content visible, is the clock right, and is the interactive application responding? Define a useful fallback for a failed data connection. A blank screen or frozen loading message should have a clear reporting route.
A practical pilot before a wider rollout
Start with one entrance location and one gallery location if they represent the main uses. Install the actual content and review both during normal visitor hours. Record questions people still ask, points where groups gather and any difficulty reaching touch controls.
- Confirm that directions agree with the building’s physical signs.
- Read the smallest important text from the expected viewing distance.
- Check playback, captions and language selection with the intended files.
- Test a restart and a temporary loss of connectivity.
- Show staff how to update a message and restore the approved version.
- Verify access for cleaning, replacement and routine service.
Turn the findings into a brief for the remaining screens. Include mounting locations, content examples, operating hours and responsibility for software. This makes supplier quotations easier to compare and helps prevent hardware decisions from getting ahead of the visitor experience.
Common questions about museum digital signage
Does every museum screen need to be interactive?
No. A scheduled event board or short exhibit film may work well without touch. Interaction is useful when visitors need to make a meaningful choice, such as language, route or collection item. It also needs a well-designed interface and a maintenance plan.
Should digital displays replace all printed labels?
Keep the format that best serves the information. Printed labels remain useful for stable object details and information that should stay available without power. Digital displays can add changing schedules, enlarged details and media. Plan them together rather than replacing every label by default.
What should we send when asking for display advice?
Share the intended screen locations, viewing distances, lighting, mounting direction and examples of the content. Include opening hours and any interactive requirements. Contact YJCEN to discuss commercial display hardware for those conditions, with the final model and software requirements checked against your project.