Digital signage installation goes more smoothly when the site is ready before the display arrives. A suitable wall or a convenient power socket is only part of that preparation. The team also needs the correct model drawings, an agreed cable route, access to the playback system and a clear way to approve the finished setup.
This guide starts after a display location has been chosen. It explains what the customer, supplier and installation team should confirm together. Use it to prepare a site-readiness record, not as a substitute for the selected model’s instructions or the installation design.
Start with the Approved Model and Installation Pack
Match the display, bracket and drawing revision
Give the installer a single, current set of documents. Include the display model, screen size, orientation, enclosure drawing, mounting arrangement and the accessories included in the order. A drawing for another size in the same product family may show different fixing positions or overall dimensions.
Check that the drawing describes the equipment actually being supplied. Keep the model identifier and document revision on the site record. If the order changes from a wall-mounted display to a freestanding unit, update the preparation list before anyone positions outlets or builds surrounding furniture.
Resolve conflicting or missing dimensions with the supplier. Do not choose a fastener from a generic online diagram or assume the supporting structure is suitable because a bracket is included. The responsible installation team needs the confirmed equipment details to specify the fixing arrangement for that site.
Assign the site, electrical, IT and content contacts
List who can answer questions about the building, power, network and screen content. One project contact can coordinate the work, but that person may need decisions from several teams. Agree who checks readiness and who can approve changes before the installation date.
For example, the installer may need the outlet moved while the IT team needs advance notice to enable a network connection. Recording both dependencies prevents the display from arriving before either task is complete. Include a contact for the supplier if the delivered accessories do not match the approved pack.
Confirm Mounting Conditions and Service Access
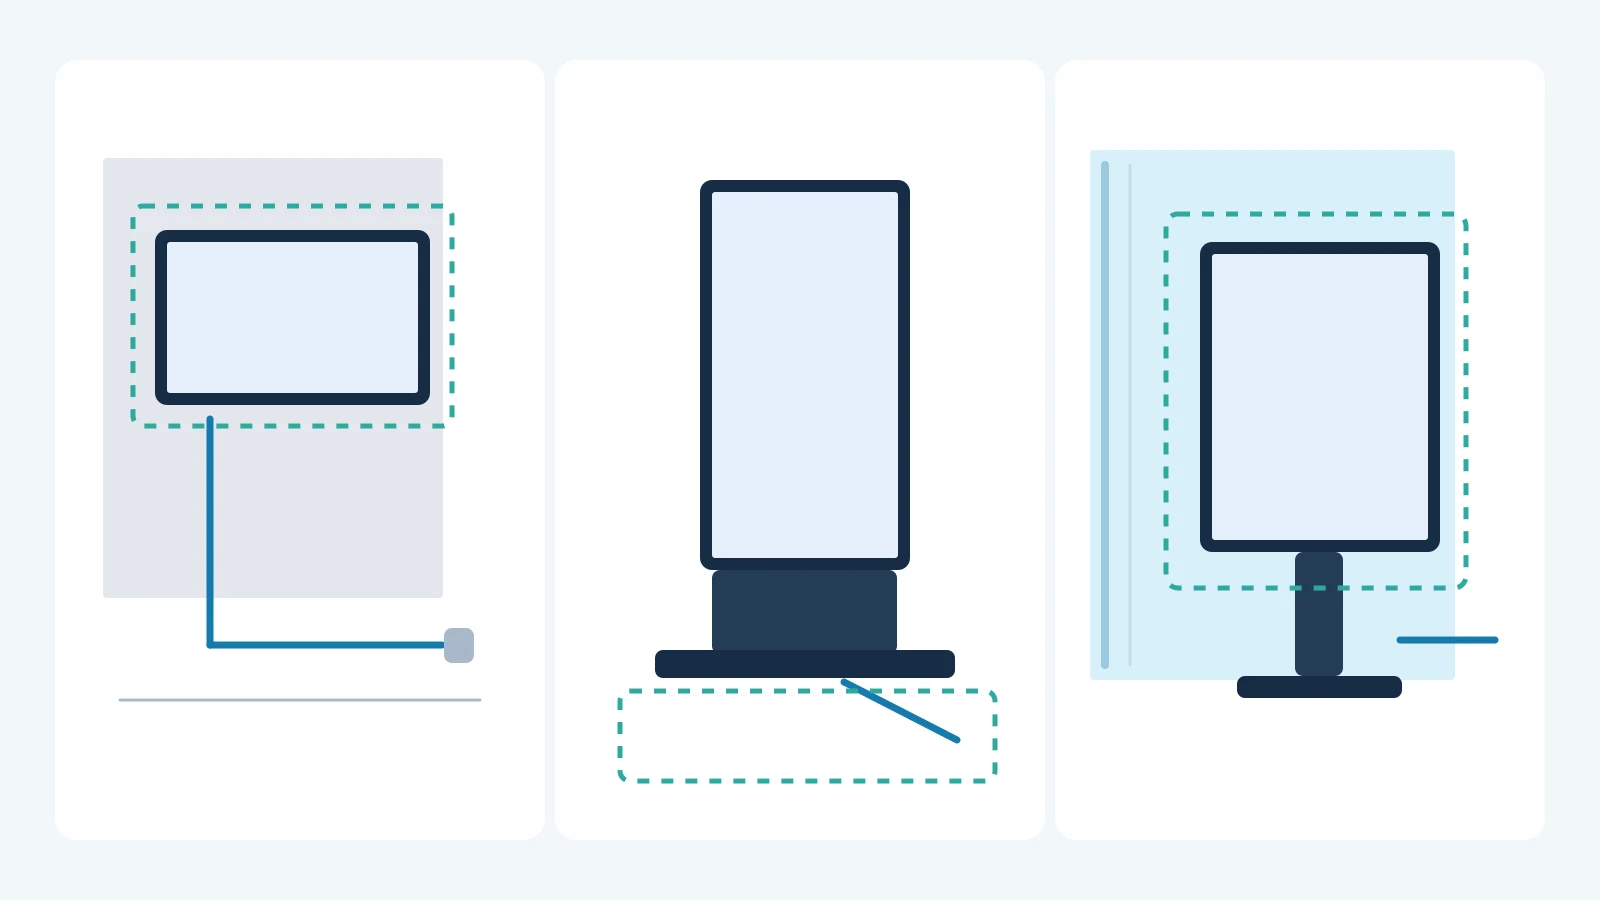
Wall-mounted, freestanding and window display checks
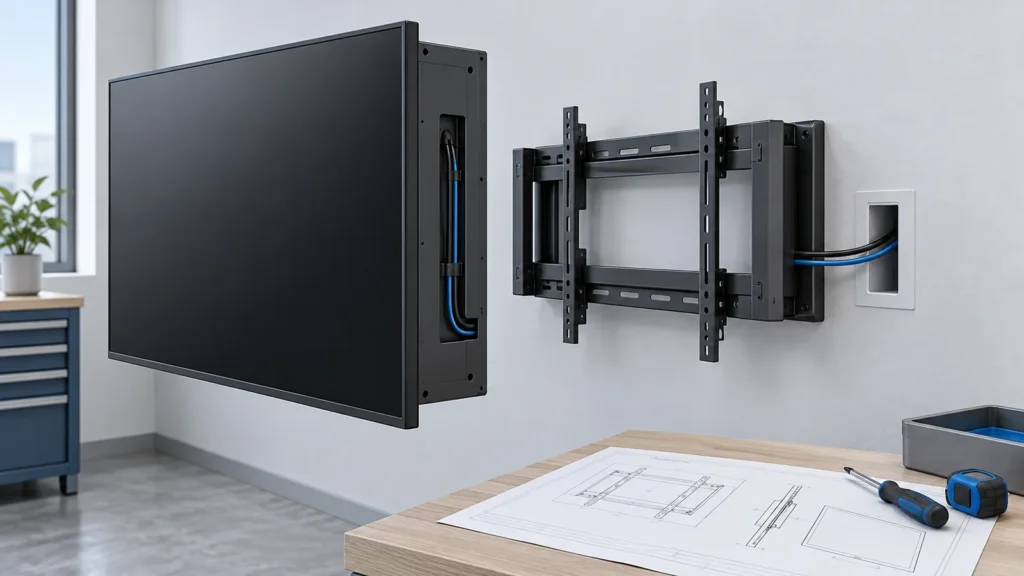
For wall mounting, record the wall construction, proposed screen position and available mounting area. Have the responsible installer assess the support and fixings against the selected unit. YJCEN’s indoor wall-mounted range includes a standard bracket; the wall and site fixings still need their own assessment.
For a floor-standing display, mark the full base footprint rather than only the screen width. Check the route used to bring the packaged unit into the building, including doorways, lifts and turns. Leave space for customers to pass and for staff to reach the equipment without moving nearby furniture.
A window-facing display needs the actual glass position and mounting configuration recorded. Check the space between the display, glazing and surrounding fittings against the selected installation requirements. High brightness does not turn an indoor window display into equipment suitable for rain or an exposed exterior position.
- Wall-mounted indoor digital signage
- Indoor floor-standing digital signage
- High-brightness window displays
Reserve ventilation and maintenance space from the model documents
Show the installer where staff will open service panels, reach connections and remove equipment for repair. Decorative surrounds, shelves and nearby displays can make an otherwise accessible screen difficult to service. Confirm the access needed before those surrounding items are fixed in place.
Use the model’s documented ventilation requirements. Do not apply one clearance to every enclosure or cover an air path to improve the appearance of the installation. If a drawing does not identify the required space, obtain clarification and record it as an outstanding item rather than inventing a distance.
Plan Power, Signal and Network Routes Before Assembly
Locate connection points and confirm the full cable route
Mark the power source, display connection points and any external player on the site drawing. Have the electrical provider confirm the supply against the equipment requirements and applicable site rules. A socket near the screen does not by itself confirm that the entire arrangement is ready.
Measure the real cable route, including the path through furniture or mounting structures and the access required for connection. Identify cables at both ends. The installer should know which cables must be available before a cover, base or display is assembled, using the instructions for the supplied configuration.
If an external player is used, confirm its location, output connection and power provision. Make sure it remains reachable for the agreed maintenance method. Test the intended signal format through the complete cable arrangement; a short bench connection is not evidence that a different installed route will work.
Separate local playback from network-dependent functions
Write down what the screen must do without a network. Local media playback, remote publishing and live information are different requirements. A player that continues showing cached files after disconnection may still need a connection when it starts, signs in or renews a software licence.
YJCEN’s indoor floor-standing display supports local USB content updates. That does not establish the behavior of every application or display configuration. For a networked system, ask the site’s IT contact to approve the connection method and required access before delivery; do not discover those restrictions during installation.
Consider a shop replacing a printed poster with a window display. The chosen position may look straightforward, but the proposed outlet might be hidden behind a fixed cabinet. Record where the connection will remain accessible, which parts must be assembled before the cabinet is closed and how the display can later be removed.
Now consider an indoor reception display using an external player. The screen and player may each work separately, yet the installed system can still fail if the signal cable follows a longer route than the tested one. Confirm the actual cable, source format and input selection together before the final mounting work.
For either arrangement, label the site drawing with the agreed equipment locations. Keep a photograph after cables are routed but before covers conceal them, where the site’s documentation policy permits it. This helps future staff identify the route without guessing or dismantling unrelated fittings.
Test the Player and Content Before Delivery
Check orientation, output format and approved files
Prepare a representative content set, including the smallest text and any video the customer intends to use. Test it on the proposed player and display configuration. Check the full image, edges, orientation and playback order, rather than approving the setup from a single attractive photograph.
Keep native panel resolution separate from the player’s supported file or output formats. Confirm the final content canvas and scaling settings. If a screen is installed in portrait orientation, check both the physical mounting permission and the actual content rotation before the team signs off the configuration.
Rehearse restart and the required offline behavior
Follow the equipment’s normal shutdown and startup procedure. Confirm that the approved content returns as expected and that staff know how to recover from an interrupted update. Test the agreed offline scenario, including startup without the expected network if that is part of the requirement.
Record the application version, player settings and accepted files. Keep a recoverable copy through the customer’s approved process. If a test fails, describe the failed action and the expected result; a note saying only that the screen was working leaves the next team with too little information.
Use a small set of acceptance actions that resemble normal operation. Start the screen, show the opening message, play a representative video and replace one approved content file. Check the result on the display itself. A successful upload notification does not establish that the correct screen is showing the updated material.
If a screen remains blank, separate the checks rather than changing several settings together. Record whether the display has power, which input is selected, whether the source is running and what changed since the last successful test. Follow the equipment’s troubleshooting instructions and keep the supplier informed of the observed behavior.
If an image appears but is cropped or rotated incorrectly, compare the content canvas, player output and display orientation. Keep the original test file so another person can reproduce the issue. Do not approve a temporary stretched image simply because it fills the panel.
If playback works but remote updates fail, preserve the working local content while the application and IT contacts investigate the approved connection. Record the update time and destination screen. Treat this as an incomplete system function, even if the display hardware is visibly operating.
Complete the Site-Readiness and Handover Checklist
Confirm deliveries, access and outstanding items
A useful digital sign installation checklist asks for evidence, not just a tick beside a broad topic. Add a named owner and status column to the following record. Close important dependencies before confirming the installation visit, and make unresolved items visible to everyone involved.
| Preparation item | Evidence to keep | Responsible contact |
|---|---|---|
| Equipment and mounting | Approved model, drawings, accessories and fixing arrangement | Supplier and installer |
| Site and access | Installation photos, delivery route and service-access plan | Site manager |
| Power and cables | Confirmed supply, connection locations and cable routes | Electrical provider and installer |
| Network and software | Approved connection and application requirements | IT and application contacts |
| Content and recovery | Accepted files, playback test and restart results | Content owner |
Check the delivery schedule against site opening hours and any access arrangements. Identify who receives the equipment and compares it with the order. Retain packaging according to the agreed handling process, and report damage or missing parts before the team proceeds with assembly.
Separate unresolved items by their effect on the visit. A missing approved fixing arrangement may prevent mounting. An unapproved network connection may prevent remote-content acceptance. An unfinished promotional video may still allow hardware checks using an agreed test file. The project team should decide what can proceed and record what remains outside the acceptance.
A useful issue record contains the item, the person responsible, the agreed next action and the evidence needed to close it. Avoid marking an entire installation complete while leaving a critical function described only in an email. The handover record should distinguish tested functions from work still awaiting another team.
Record the accepted configuration and support contacts
At handover, ask the staff who will operate the screen to perform a normal content update and the approved recovery procedure. Record the final equipment identity, application setup, support contacts and any remaining issues. Keep account credentials in the customer’s approved secure system, not in a public checklist.
For several sites, reuse the checklist while keeping local evidence separate. The same screen can encounter different walls, delivery routes and network restrictions. A completed record at one location does not approve the conditions at another.
After the first normal content change, ask the operator to note anything that was unclear. Update the site’s operating instructions with the correct screen names, file location and escalation contact. This small follow-up makes the handover useful to the person running the display rather than only to the team that installed it.
If the location is still undecided, first compare visibility and audience needs using our location guide. For installation planning, send YJCEN the preferred display, site photographs, orientation and intended playback system so we can discuss the hardware configuration and relevant documents.