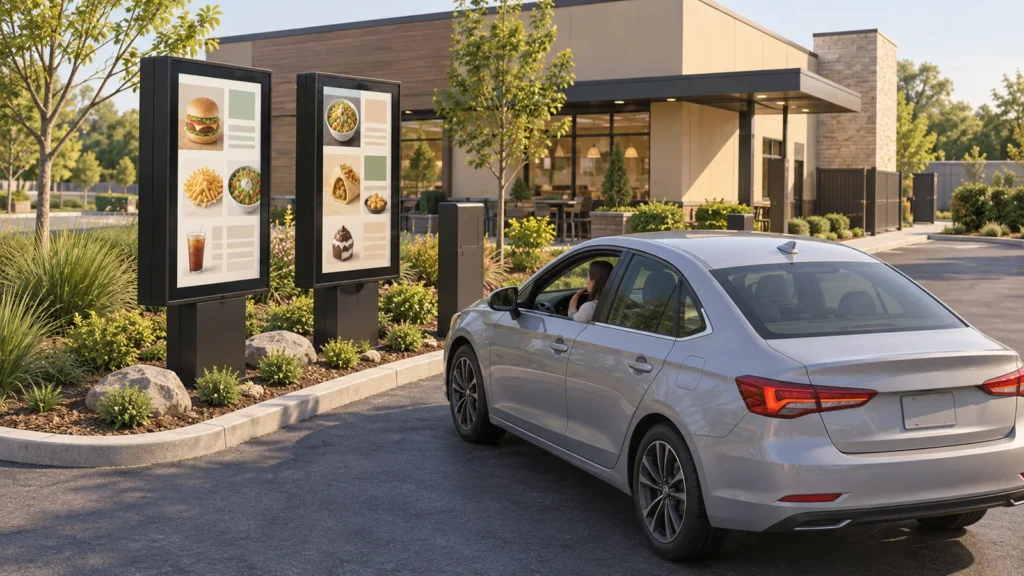
Outdoor digital menu boards should help customers make a choice from the position where they actually order. At a drive-thru, that means planning around the driver’s view, the stopping point and the amount of menu information that must remain readable. Screen size and brightness matter, but neither can compensate for a layout that hides essential choices.
Start with the lane and a representative menu, then compare screen configurations. This guide focuses on choosing the displays and their arrangement. Installation costs and software functions belong in the wider project, but they do not replace a practical reading test on the proposed screens.
Map What Drivers Need to Read at Each Stopping Point
Separate the approach message from the ordering menu
Draw the vehicle route and mark where customers approach, pause to read and place an order. A screen intended to introduce a promotion may serve a different purpose from the main menu beside the ordering point. Assign each display a clear job before deciding how many screens to buy.
Keep the essential ordering choices available at the point where customers need them. If those choices disappear during a long promotional playlist, drivers may have to wait for the menu to return. Use changing content to support the ordering process, and test any transition with the actual menu.
Check sight lines from the actual driver position
Assess the display from inside representative vehicles at the intended stopping position. Record the distance and direction to each screen, along with anything that blocks the view. A photograph taken while standing beside the menu board does not show what a seated driver can read.
Include the normal lane arrangement in the check: ordering equipment, canopy supports, landscaping and nearby screens. Consider how different vehicle positions affect the view. The output should be a marked plan and driver-view photographs, not an assumption that every customer will stop at exactly the same point.
Match Screen Size and Quantity to the Menu
Test menu density before adding more screens
Prepare the information customers need to order: product names, prices, relevant options and required accompanying details. Group related information so a customer can identify an item and its price together. Decorative photographs should support that task without pushing important wording into small corners.
Try the menu at the proposed screen size and reading position. If essential text is too small, first review grouping, repetition and the amount shown at once. A larger or additional screen may help, but it should address an identified reading problem rather than simply create room for more promotions.
Keep the sample realistic. A demonstration with a few large product photographs cannot validate a final menu containing many choices and qualifications. Use representative names, prices and options, clearly treated as sample content rather than a live offer from a restaurant.
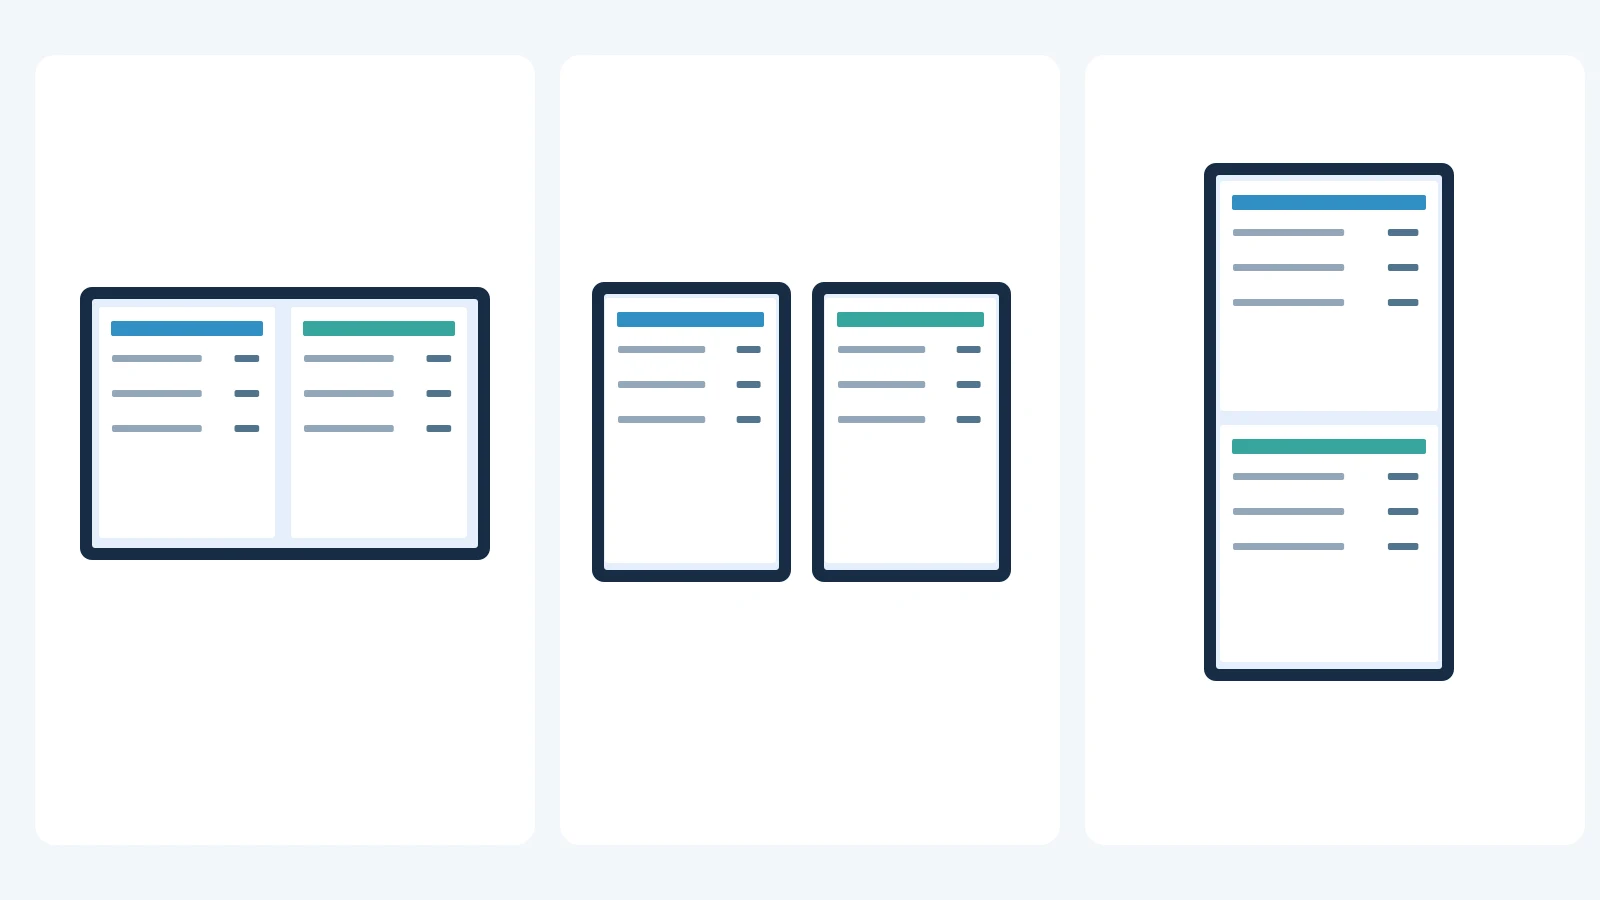
Compare portrait, landscape and multi-screen layouts
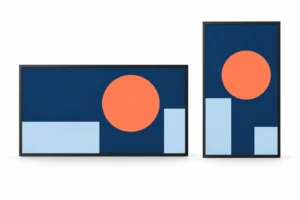
Landscape gives width for side-by-side groups. Portrait can suit a vertical sequence of categories where the mounting position and viewing angle allow it. For a row of screens, assign complete sections to each panel and avoid separating a product from its price across a screen join.
| Layout to test | Possible use | Main check |
|---|---|---|
| One screen with a simplified menu | A focused range of choices | Every required item and price remains readable |
| A row of screens with separate sections | A broader menu divided into clear groups | Drivers can read all panels without losing related information |
| A portrait category layout | Vertically grouped choices in a suitable position | Upper and lower content remain within a useful view |
These are content arrangements to evaluate, not a rule that every drive-thru needs a particular number of displays. Confirm that the chosen model and mounting arrangement permit the intended orientation. For multiple screens, specify the required outputs and content behavior with the player and application provider.
Consider a sample menu with two main categories and a short offer. On one landscape screen, place the categories beside each other and keep the offer secondary. Check whether the main item names, prices and necessary details remain readable before deciding that the menu needs another display.
If two screens are proposed, give each a complete category rather than dividing every row across the pair. Check the screen farther from the driver as carefully as the nearer one. Extra display area is useful only when customers can read the information placed there.
For a portrait version, stack the same categories and compare the upper and lower reading positions. Do not quietly remove required information to make the vertical layout appear cleaner. Keep the test content consistent so the team is comparing screen arrangements rather than different menus.
Record the reason for the preferred layout. It might be clearer grouping, better visibility from the stopping point or a suitable installation footprint. Avoid describing it simply as the most impressive option; that gives the supplier little guidance when a site constraint later requires a change.
Assess Sunlight and Reflections Throughout Service Hours
Evaluate brightness with the actual front glass and direction
Review the proposed position at relevant times of day. Direct sun, bright surroundings and reflections can affect different parts of the menu as conditions change. Record the direction of the display and photograph the view from the driver position rather than describing the site only as sunny.
Brightness is one part of the selection. Front-glass treatment, viewing angle, content contrast and solar exposure also matter. Ask for a recommendation tied to the actual configuration and site. Avoid treating a single brightness value as a guarantee that every menu will be readable in every outdoor position.
YJCEN’s IP66 outdoor LCD range lists a 3,000-nit panel and automatic brightness adjustment. Use that as a product-family reference, then confirm the offered model and evaluate the sample menu. The specification does not remove the need to check reflections or the amount of information on screen.
Confirm automatic dimming for the offered configuration
A setting that looks useful in daylight may be excessive after dark. Where automatic adjustment is included, confirm how it responds to the installed environment and whether surrounding structures affect the sensor. Check the menu during the operating conditions the restaurant expects to encounter.
Record the accepted brightness settings and any application or controller responsibilities. Do not assume that all outdoor product families use the same controls. If an operating mode is important to the project, have it identified in the offered configuration and checked during handover.
Where a canopy shades the menu, inspect the full screen rather than judging the enclosure from a photograph. Parts of the image may receive different light, and bright surroundings can still reflect toward the vehicle. A useful site record shows the screen position, shade and driver’s view together.
Keep daylight and evening observations separate. Record the content version and settings used for each check so a later comparison is meaningful. If readability changes, the team can then investigate the lighting, settings or artwork without assuming the display itself has changed.
Specify the Outdoor Enclosure and Thermal Configuration
Keep enclosure protection separate from site installation
Describe rain exposure, dust, splash and the way the area is cleaned. Match the enclosure to those conditions with the supplier. Cable entries, service openings and the final mounting work must follow the equipment requirements; an enclosure rating alone does not approve the completed site installation.
Keep different product and project specifications separate. YJCEN’s outdoor LCD range is listed as IP66, while its outdoor wall-mounted and fixed totem ranges are listed as IP65. The Irish drive-thru case records an IP67 configuration for that project. Those ratings should not be combined into one assumed standard product.
Confirm temperature conditions and operating schedule
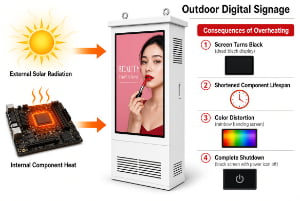
Provide expected site temperatures, sun exposure and daily operating hours. Ask which thermal configuration is proposed for those conditions. An advertised temperature range may depend on the selected configuration, and a commercial display label does not establish that every model supports the same operating schedule.
Keep ventilation paths and service areas clear in the final design. A surrounding enclosure or decorative structure can change the conditions around the equipment. Have the supplier and installation team review that arrangement before approving it, rather than assuming the freestanding product specification covers every added surround.
Choose Mounting and Maintenance Access Together
Compare a suitable wall position with a fixed freestanding enclosure
A wall position can be appropriate when it provides the needed driver view and a suitable supporting structure. A fixed floor-standing enclosure allows another position where the building wall does not suit the lane. Compare both against the menu-reading task and the access needed to service the display.
Use the selected model drawing to confirm dimensions, weight and fixing details. The site’s responsible team must assess the support or foundation arrangement. A fixed outdoor totem should not be treated as a portable display that staff can move around the lane each day.
Plan service access, power and protected cable routes
Identify how technicians will reach the display without relying on an unplanned working area in the vehicle route. Agree the site’s service arrangements and show maintenance access on the plan. Confirm where power, signal and network cables enter and how the connections remain accessible.
Keep content management, intercom and payment functions distinct from display hardware. The Irish project’s client independently integrated those systems. For a new drive thru menu board, specify the actual interfaces and responsibility for each integration instead of assuming a similar-looking enclosure includes the same services.
Approve a Sample Menu on the Proposed Screen Arrangement
Read items and prices from the driver’s position
Ask someone unfamiliar with the layout to identify a product, its price and the relevant options. Repeat from the intended vehicle position under representative lighting. Note which information is difficult to find or read, then adjust the content or screen arrangement and repeat the affected check.
Use concrete reading tasks. Ask the evaluator to find a main item, distinguish two similar choices and identify the price attached to one option. Include a longer product name or qualification from the real menu. Those tasks reveal problems that a general question about whether the screen looks clear may miss.
Record where the evaluator was sitting and which part of the menu caused difficulty. If the text is too small, revise the size or amount of content. If a category is hard to find, revise grouping. If a reflection obscures one area, review the screen position and optical conditions with the supplier.
For multiple displays, check whether a customer must move their head or vehicle to find a related detail. Keep product and price information together and reconsider sections placed beyond the useful view. Do not solve an obstructed sight line by assuming customers will stop somewhere different from the planned ordering point.
Check the whole menu across all screens, including promotions and any changes between service periods. Confirm that essential choices remain available when needed. This is an acceptance method to use at the site; an illustration or desktop preview should not be presented as a completed field test.
Ask staff to perform a representative menu change using the selected content system. Confirm the updated item on the destination screen and check the other panels for an inconsistent version. This tests the proposed operating process; it does not imply every display includes remote publishing or automatic price synchronization.
Turn the results into a screen specification
Record the chosen screen size, quantity, orientation, enclosure format, brightness controls and operating requirements. Attach the tested menu version, lane plan and viewing photographs. Keep unresolved items visible so the quotation and final approval address the same configuration.
Retain the accepted sample as a reference for later menu redesigns. Adding more products, smaller qualifications or a new promotional strip can change readability even when the hardware stays the same. Repeat the affected reading checks after a substantial layout change instead of treating the original screen approval as permanent content approval.
For a related installation, read the Irish project record. For the equipment and site-work budget, use the separate cost guide. Send YJCEN your lane plan, sample menu, viewing distances and operating conditions to discuss outdoor digital menu boards suited to the project.
View the Irish drive-thru menu board project
Read the digital menu board hardware and installation cost guide