What should a school signage plan include?
Plan each school screen around its audience, location and a person responsible for keeping the information current.
- Match reception directions, classroom notices and cafeteria menus to the places where people need them.
- Check visibility during arrival, class changes and meal queues.
- Define content approval, scheduling, expiry and offline behaviour.
- Pilot real messages, updates and restarts before expanding across campus; stale room changes need a different fallback from a general welcome message.
This guide covers campus screen placement, hardware selection, publishing responsibilities and practical acceptance tests. It is intended for school administrators, facilities teams and display buyers planning an installation or replacing a collection of disconnected screens.
What should school digital signage actually do?
A useful school display answers a question at the place where that question arises. At reception, visitors need their next step. Near classrooms, students need current notices and directions. At a cafeteria entrance, they need information before joining the service line. A clear purpose makes both the equipment specification and the content plan easier to evaluate.
| Location | Primary audience | Useful content | Planning question |
|---|---|---|---|
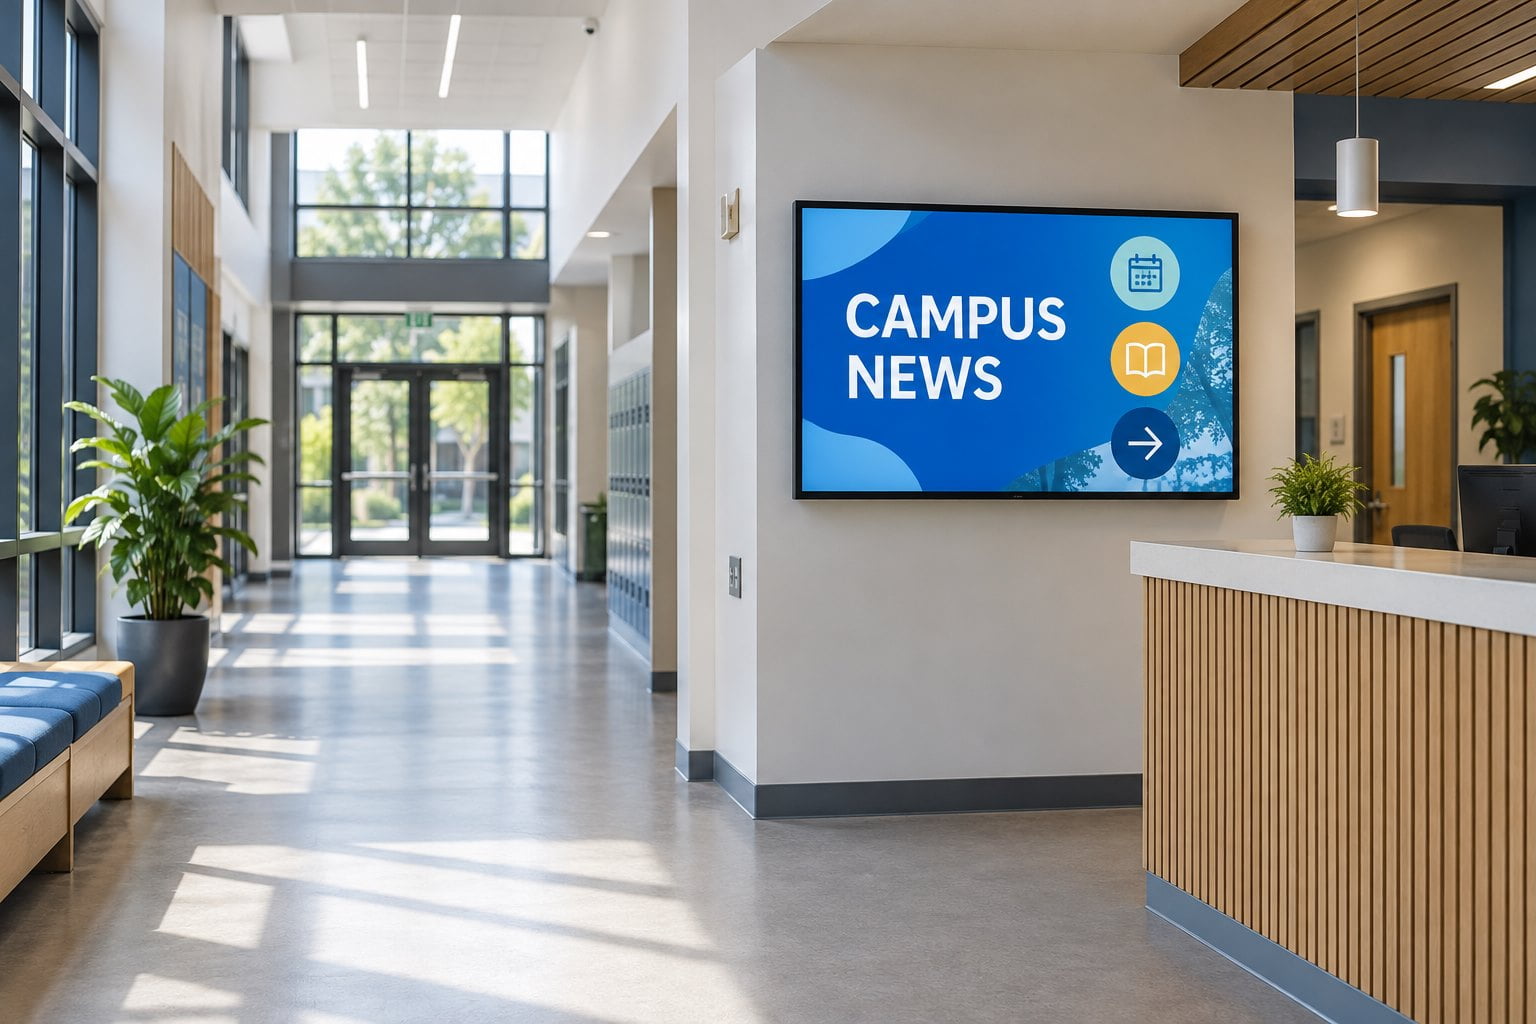
| Main reception | Visitors and families | Welcome message, reception instructions and event directions | Can a first-time visitor understand the next step without stopping in a doorway? |
| Corridor junction | Students and staff | Time-sensitive notices and destination information | Can the main message be read while approaching the junction? |
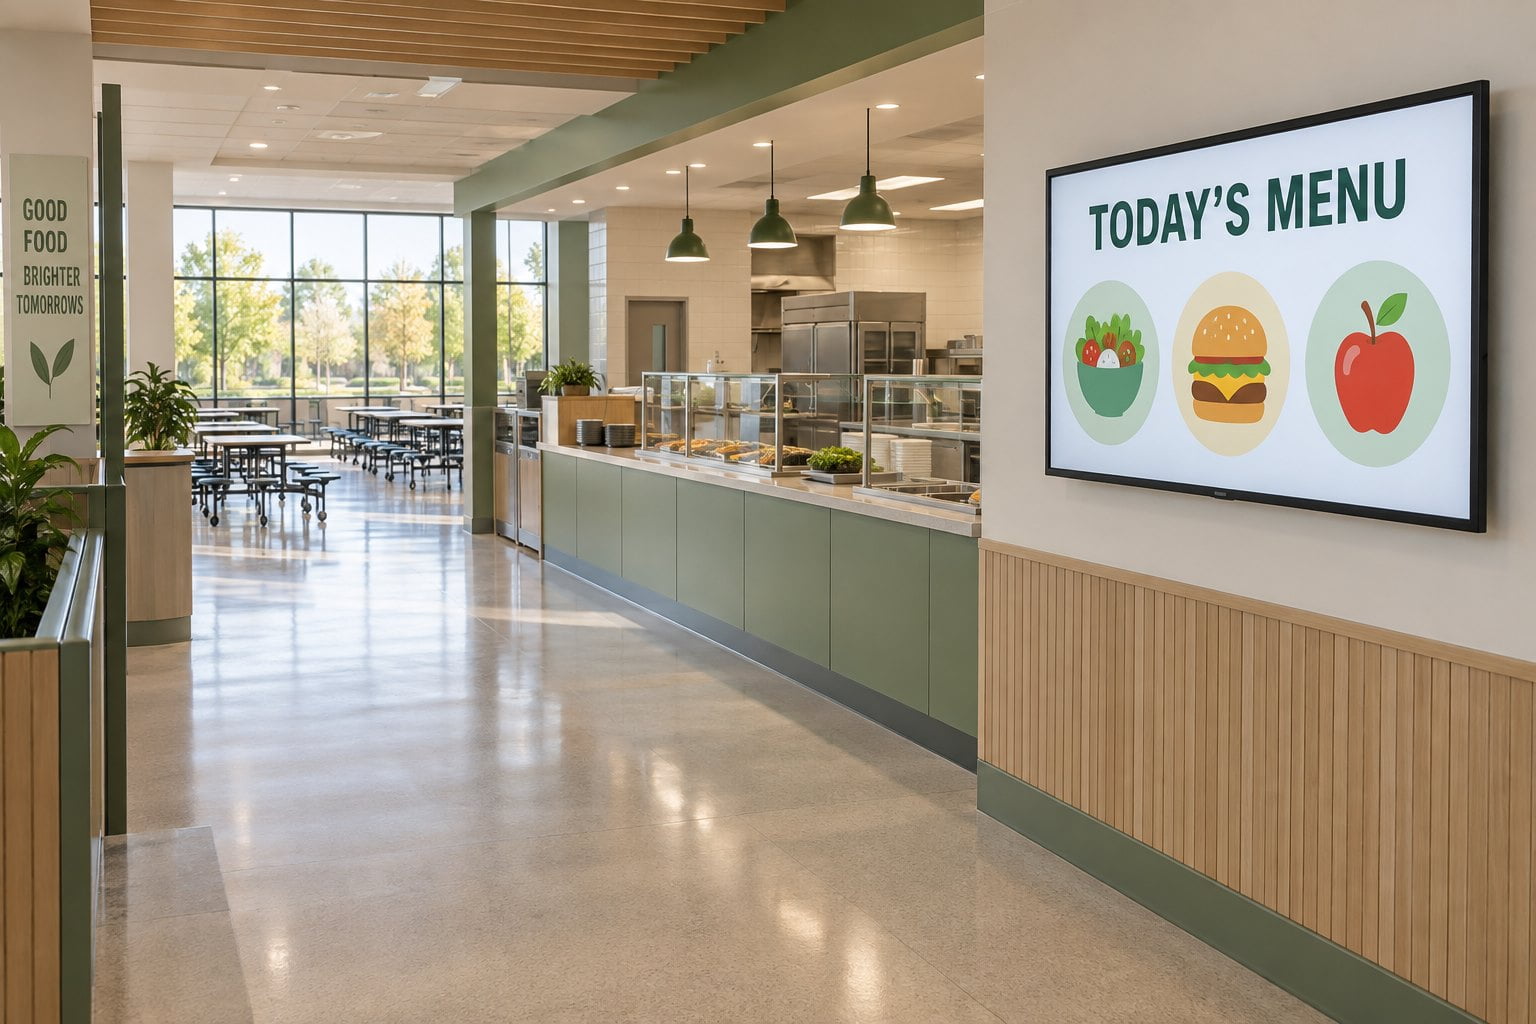
| Cafeteria entrance | Students and catering staff | Current menu, service times and approved meal information | Is today’s information visible before people choose a queue? |
| Staff area | Authorized employees | Internal reminders and operational updates | Is this content suitable for everyone who can see the screen? |
| Assembly or events area | Event participants | Schedule, room changes and arrival instructions | Who removes the event content when the activity ends? |
Keep classroom teaching displays separate in the requirements document. Interactive lessons, pen input and classroom collaboration introduce different needs from a corridor noticeboard. Samsung’s education display overview illustrates this distinction between classroom and wider campus applications. Specify the actual job rather than assuming one screen type suits every location.
Survey the campus before choosing screen sizes
Check sightlines during normal school activity
Visit proposed locations during arrival, lesson changes and meal service. A position that looks clear in an empty building may become hidden behind a queue. Record the direction of approach, likely viewing distance and whether the audience is walking or waiting. Test a sample notice at the intended position before ordering every screen.
Measure the available mounting area and photograph nearby doors, signs and windows. Check reflections at the time of day when the display will be used. A larger panel does not solve glare, small lettering or a poor viewing angle. Moving the screen or simplifying its content may be the more effective change.
Plan mounting, power and maintenance access
Ask the installer to confirm wall construction, mounting support, cable routing and access for servicing. Keep equipment and cables clear of circulation routes. For a freestanding display, review stability, placement and the school’s supervision arrangements. Do not assume a product photograph demonstrates that a particular installation is suitable for your building.
Create a location sheet for every screen. Include the room name, proposed orientation, power point, network connection, operating schedule and person who can provide access. These details prevent a seemingly simple display purchase from becoming an unexpected electrical, networking or installation project.
Choose hardware around the location and operating schedule
Indoor wall-mounted screens suit many reception areas and corridors where permanent mounting is appropriate. YJCEN’s indoor digital signage range lists portrait and landscape options and optional Android or Windows configurations. Confirm the exact model, player configuration and software requirements together; an operating system option alone does not establish compatibility with your chosen campus platform.
A floor-standing display can be considered where wall placement is impractical or an information point needs a separate presence. Review the footprint and installation requirements early. It should guide people through the space without creating a new obstacle or competing with existing directional signs.
For each model, request written confirmation of the supported operating hours, orientation, mounting pattern, input connections, network options and warranty conditions. Ask how the player starts after a power interruption. If a screen faces strong sunlight through glass, assess that condition specifically rather than treating it as an ordinary interior location.
Define the content and software workflow
Separate the display, player and management platform
The panel shows the message. The player renders the content. The content management system, or CMS, controls scheduling and distribution. These functions may be combined in one device or provided by separate products. Confirm who supplies each part and which party supports the complete installation when something stops updating.
Prepare a short software checklist: screen groups, scheduled publishing, user roles, previewing, expiry dates and device status. If the school needs calendar or other system connections, request a demonstration using an appropriate test account. Do not assume that a generic Android or Windows display includes these integrations.
Assign owners and expiry dates
Give each content category an owner and a backup. Reception might manage visitor notices, catering might approve menus, and an administrator might schedule campus announcements. Decide which changes need review before publication. A clear approval path is more useful than giving every contributor unrestricted access to every screen.
Every temporary notice needs a removal date. Keep recurring templates for events, room changes and service notices so staff can update the essential fields quickly. Use a shared content calendar to avoid conflicting announcements. Review the screens from the viewer’s position as well as from the desktop preview.
Make school screen content easy to understand
Give each slide one main message and an obvious next step. Use a short heading, plain language and generous spacing. Avoid placing a full newsletter on a screen and shrinking it to fit. If the detail belongs on a website, show a concise summary and a readable route to the complete information.
Test text from the actual viewing position with the expected audience. Check contrast, glare and the time available to read the slide. Caption useful spoken information in videos. Do not rely on color alone to communicate a change, and avoid animation that distracts from the message. These are practical design checks, not a claim that a display automatically meets an accessibility standard.
Where a campus serves multiple language groups, plan how translations will be reviewed and scheduled. Keep the essential action consistent between versions. A longer rotation can make people wait for relevant information, so consider separate layouts or screen groups when that better fits the audience.
Plan for outdated information and interruptions
Decide what happens when a network connection is lost. A locally stored welcome message may remain useful, while a cached room change can become misleading. Ask the software supplier how offline playback, content expiry and reconnecting behave. Test those conditions with the proposed configuration rather than accepting a broad promise that it works offline.
School screens can support approved communications, but any emergency use needs a separately agreed process. Define who can publish an urgent message, which displays receive it and how ordinary scheduling resumes. Coordinate with the school’s established communication arrangements; a screen installation should not silently become the only way critical instructions are delivered.
Keep private student details, access credentials and internal records out of public-facing layouts. Use a limited test dataset when reviewing integrations. Confirm how user access is removed when responsibilities change. These operational decisions belong in the deployment plan before staff begin uploading everyday content.
Run a small pilot before extending across campus
Choose a pilot area that represents the intended work, such as reception and a cafeteria entrance. Establish what success means before installation: visitors understand the next step, menus are current at service time, and staff can publish and remove a notice without supplier assistance. These checks are more useful than counting how many animations the system supports.
- Display an approved sample message and inspect readability from realistic positions.
- Publish a scheduled notice, confirm the correct screen group and check its expiry.
- Restart the display and player, then verify the intended content returns.
- Disconnect and restore the network during a planned test; record what remains visible.
- Have the regular content owner complete a routine update and the backup repeat it.
- Record remaining issues, assign owners and resolve them before wider rollout.
Keep a simple acceptance record with the model, location, software version, test date and result. Reuse the checklist for later installations. This gives facilities staff and administrators a shared reference when a screen is moved, replaced or added to a new building.
What to include in a school display quotation request
Send suppliers a location list, photographs, approximate viewing distances, operating hours and intended content. Identify indoor, window-facing and outdoor positions separately. State whether the school already has a CMS and whether it expects an integrated player or a separate playback device. Ask for installation and software costs to be itemized.
Include training, warranty handling, spare equipment and ongoing subscriptions in the budget. Ask who handles a failed display, an unavailable player and a publishing problem. For a broader purchasing framework, see the digital signage project budget guide. The hardware purchase is one part of maintaining useful campus communication.
Frequently asked questions
Can a school start with just one display?
Yes. One well-managed reception screen can test content ownership, readability and the updating process. Select a configuration that can support the planned next step, and confirm the cost of adding screens or users before committing to a larger rollout.
Do all campus screens need the same content?
No. Group screens by audience and location. Campus announcements can be shared, while menus, visitor instructions and staff notices remain specific to the areas where they are useful. Define which messages take priority when a local update overlaps with a wider announcement.
Can an existing school television be reused?
Possibly, after checking its condition, mounting, connections and intended operating schedule. Test automatic startup and playback with the selected player. Compare those results with the requirements for the location before deciding whether reuse offers a practical saving.
Does YJCEN supply school management software?
The linked YJCEN products describe display hardware and configuration options. Confirm any CMS, school system integration or custom application separately. Share your selected software and installation requirements so the proposed hardware can be reviewed against them.
Planning digital signage for a school or campus? Send YJCEN your screen locations and hardware requirements to discuss suitable display configurations for the project.